Free Shipping to Contiguous 48

Home  |  Hard-to-Reach Spots  |  How to Clean Behind the Curtain Rod Brackets: Step-by-Step
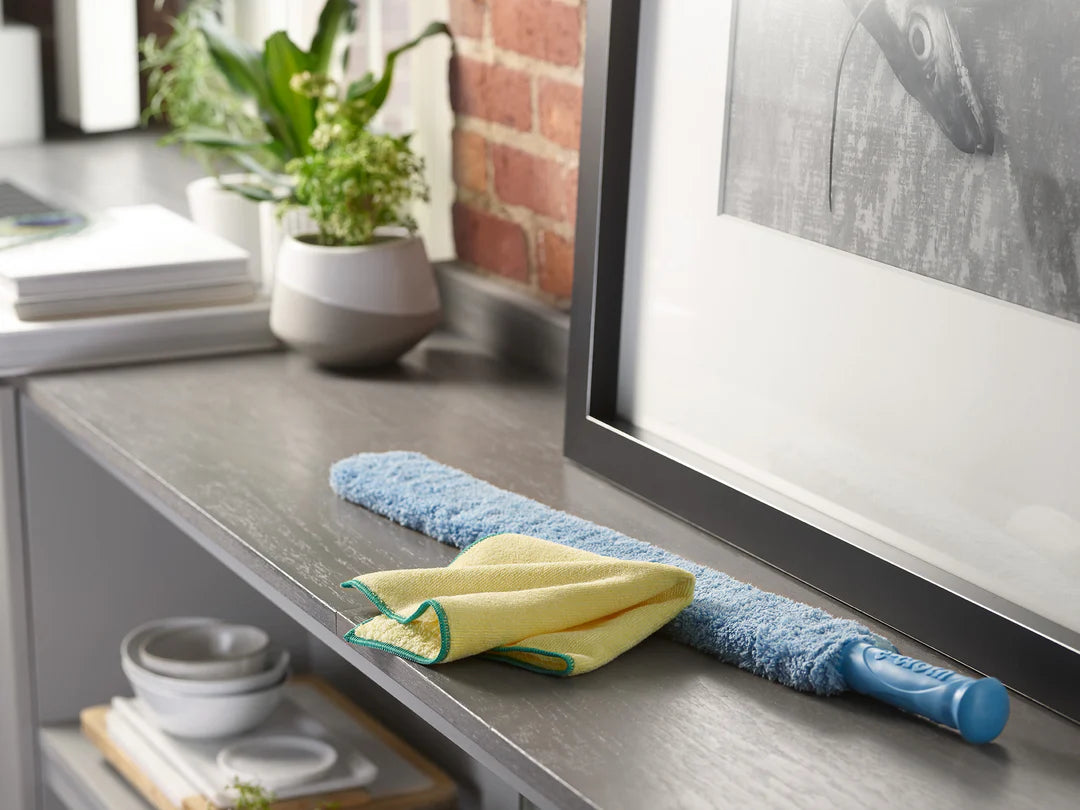
How to Clean Behind the Curtain Rod Brackets: Step-by-Step

  • Reviewed by Zac Kieffer

Updated: September 16, 2025

Easily clean behind curtain rod brackets with E-Cloth. Discover a simple, effective method for spotless results in hard-to-reach spots.

Title

How to Clean Behind the Curtain Rod Brackets
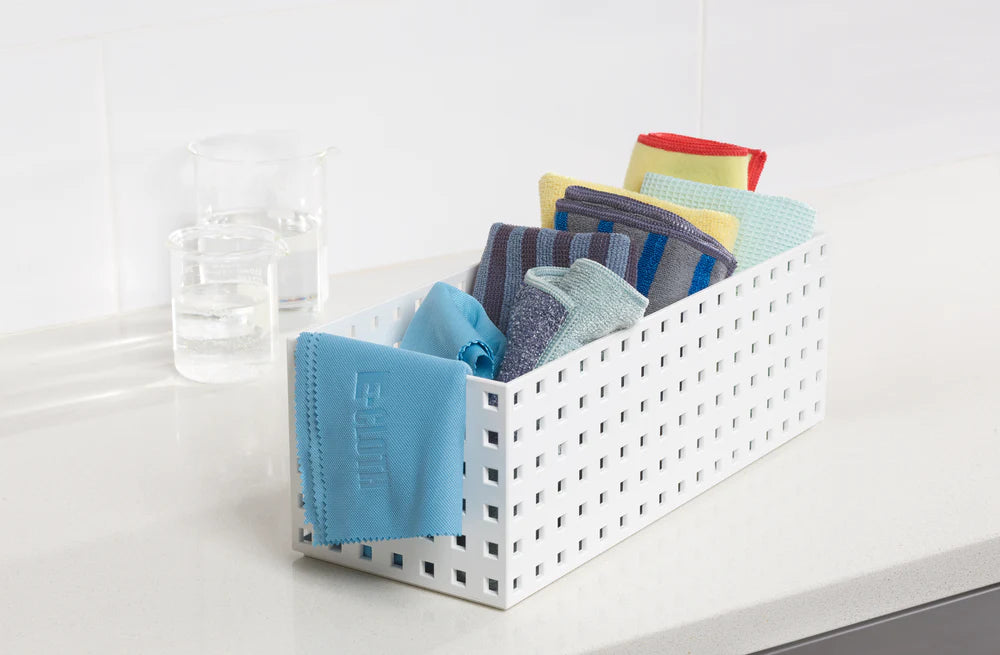
Tools:

- E-Cloth
- Vacuum with brush attachment
- Duster
- Bowl of water
- Mild dish soap


Remove the Curtains

 
  • Take down the curtains so you can access the area behind the rod brackets.
  • If possible, slide the rod out to give yourself extra room to work.
 

Dust and Clear Debris

 
  • Use a vacuum with a brush attachment or a duster to gently remove dust and cobwebs behind the brackets.
  • Be sure to reach into all the nooks where dust tends to settle.
 

Wipe the Area

 
  • Grab a damp microfiber cloth and lightly wipe the surfaces around and behind the brackets.
  • Focus on areas that appear stained or extra dusty, giving them a little extra attention.
 

Return Everything to Place

 
  • Carefully reposition the rod (if removed) and hang the curtains back up.
  • Step back, admire your work, and enjoy a cleaner, brighter space!
 

Safety Precautions

  • Use a sturdy step stool or ladder if you need to reach high brackets; never stand on unstable furniture.
  • Wear gloves to protect your hands from dust, sharp edges, or cleaning chemicals.
  • Ensure the rod is secure before applying pressure; if removing, support both ends to prevent it from falling.
  • Avoid excessive water on the cloth to prevent moisture damage to walls or hardware.
  • Keep cleaning tools and supplies away from children and pets during the process.

How to Maintain Cleanliness Behind the Curtain Rod Brackets: Extra Tips

Regular Dusting Routine

 
  • Wipe the area behind the curtain rod brackets with a dry microfiber cloth at least once a week to prevent dust build-up.
  • Gently lift the curtain or rod if necessary, taking care not to disturb the bracket alignment.

Title

Mild Cleaning Solutions

 
  • Prepare a solution of warm water and a few drops of dish soap for cleaning.
  • Lightly dampen a microfiber cloth with the solution and carefully clean around and behind the brackets to remove grime.

Title

Detail Inspection for Build-up

 
  • Periodically inspect the bracket area for grease or dirt that has accumulated over time.
  • Use an old toothbrush to reach any crevices, ensuring you clean every small nook.

Title

Preventative Maintenance Tips

 
  • Consider installing a small vent or air purifier nearby to reduce airborne dust.
  • Keep cleaning wipes or a small cleaning kit handy so you can quickly address any visible messes.

Common Mistakes When Cleaning Behind the Curtain Rod Brackets

Overlooking Dust and Debris


  • Failing to thoroughly remove dust, cobwebs, and grime that collect behind the brackets.
  • This buildup can hide signs of corrosion or loosened fasteners, reducing the bracket’s effectiveness.

Using Harsh Cleaning Solutions


  • Applying aggressive chemicals or abrasive cleaners that can damage the bracket’s finish.
  • Stick to gentle cleaners or a mild soap solution to preserve the integrity and appearance of the metal.

Neglecting Secure Fastening Checks


  • Ignoring the need to inspect and re-tighten screws or brackets during cleaning.
  • This oversight can lead to loose fittings, potentially causing the curtain rods to sag or fall.

Title

How Often to Clean Behind the Curtain Rod Brackets


Cleaning Frequency

 
  • Aim to clean behind your curtain rod brackets every three months as a baseline, but if you live in a high-dust environment or have pets, bump that up to once a month.
 

Reasons for This Schedule

 
  • Dust and debris constantly gather in hard-to-see spots like behind the brackets, and frequent cleanings prevent a build-up that’s tougher to remove over time.
  • Regular maintenance keeps allergens and microscopic particles at bay, contributing to better indoor air quality and reducing potential triggers for allergies.
  • Incorporating this task into a quarterly or monthly cleaning routine prevents it from becoming overwhelming, ensuring your fixtures remain as efficient and aesthetically pleasing as the rest of your space.
 

vs

E-Cloth

Other Brands

Precision-engineered, uniform microfibers

Often crushed/less consistent fibers

No streaks with just water

May need chemicals for same results

Lasts ~300 washes

Many break down faster

Traps and locks in particles

Can smear dirt around

Reduces chemicals & waste, reusable

Less eco, more waste/chemicals

Shop Now

A Clean You Can See


Our high-performance microfiber products simplify cleaning, making it quick, easy, and effective, so you can enjoy visible results without the fuss. No streaks, just results.


Shop Now

30-day money back guarantee