Remove nearby items that could get in the way so you have ample space to work.
Move the Rocking Chair
Gently rock or slide the chair forward to expose the wall space behind it.
Dust and Vacuum
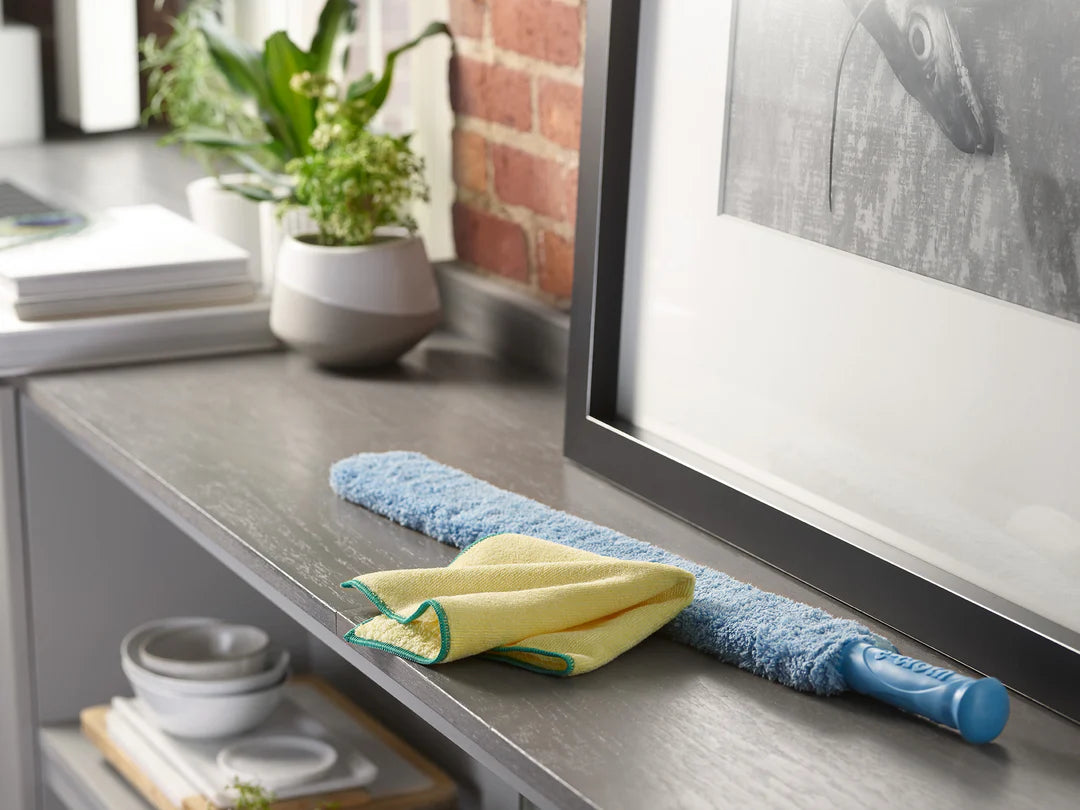
Use a long-handled duster or a vacuum hose to pull away accumulated dust in hard-to-reach zones.
Focus on the corners and edges where dirt tends to settle.
Wipe Down the Surface
With a damp cloth, quickly wipe any marks or smudges on the exposed wall area.
No need for heavy scrubbing—gentle passes usually do the trick.
Return the Chair
Carefully slide the rocking chair back into place, ensuring you didn’t disturb its balance.
Safety Precautions
Check for stability: Before moving the chair, ensure it’s stable and won’t tip unexpectedly.
Lift with care: Use your legs, not your back, when sliding or lifting the chair to avoid injury.
Watch your fingers: Keep fingers clear of pinch points between the chair and wall.
Mind electrical cords: Make sure there are no cords or tripping hazards behind or around the chair.
Ventilate if using cleaners: If you use any cleaning products, open a window for fresh air.
Avoid standing on unstable surfaces: Use a sturdy step stool if you need extra reach, never stand on the chair itself.
How to Maintain Cleanliness Behind the Rocking Chair: Extra Tips
Keep a Routine Dusting Schedule
Set aside a few minutes daily or every other day to dust behind the rocking chair, ensuring the buildup of dust and debris is minimized.
A soft microfiber cloth works best to capture dust without scattering it around.
If you notice extra buildup, consider rotating your cleaning schedule to include adjacent furniture.
Title
Vacuum and Spot Clean Regularly
Use a mini vacuum or a handheld vacuum with a brush attachment to clean the area behind the rocking chair.
Pay extra attention to crevices and edges where dust tends to accumulate.
For any stubborn spots, a damp cloth and a gentle cleaning solution can help break down grime.
Title
Organize and Declutter Frequently
Remove unnecessary items from behind the chair that can trap dust and complicate cleaning.
Store items in labeled containers or designated spaces, making the area easier to clean.
Regularly assess the space to decide what needs to remain and what can be discarded.
Title
Deep Clean on a Seasonal Basis
Every season, perform a thorough cleaning behind the rocking chair, including moving it if possible.
Wash or replace any fabric components to eliminate allergens and dust mites.
Consider using a cleaning solution that’s safe for wood or any specific material of your rocking chair.
Common Mistakes When Cleaning Behind the Rocking Chair
Rushing the Cleaning Process
Many people quickly swipe behind the rocking chair without moving it, missing hidden dust and crumbs.
Taking extra time to thoroughly clean every spot ensures nothing is left behind that could cause future dirt buildup.
Carefully move the rocking chair to create full access, and allow yourself time for a more effective clean.
Skipping Protective Pads or Mats
Cleaning without placing furniture pads or mats under the rocking chair can scratch hardwood floors or snag carpets when moving it.
Always slide protective padding underneath before moving heavy furniture for cleaning.
This not only protects your floor coverings but also makes it easier to return the chair to its spot afterward.
Failing to Dry Surfaces Properly
Leaving moisture behind after cleaning can damage wood finishes or lead to mildew growth in hidden areas.
After wiping with a damp cloth, always follow with a dry microfiber towel to absorb any leftover dampness.
Proper drying keeps both your floor and furniture in good condition over time.
Title
How Often to Clean Behind the Rocking Chair
Why Regular Cleaning is Key
For most homes, cleaning behind the rocking chair every 4-6 weeks works well. This interval keeps hidden dust and allergens in check without turning cleaning into a weekly chore.
If you have pets or if your home experiences higher traffic levels, consider a bi-weekly schedule. Extra activity tends to stir up more dust and debris, which can settle in these overlooked spots.
Even when the area doesn't look dirty, contaminants accumulate over time. A scheduled clean ensures that mold, mildew, and allergens don't build up and affect your indoor air quality.
Adjusting the Frequency to Your Environment
In drier or less active households, once a month might be sufficient. On the other hand, during humid seasons or periods of heavy use, leaning toward a more frequent cleaning routine is a smart move.
Observe the area periodically. If you notice increased dust or the buildup of debris, it's a clear sign that a more aggressive cleaning schedule is needed.
By tailoring your cleaning frequency to your unique environment, you not only maintain a sparkling home but also safeguard your health against hidden allergens.
Our high-performance microfiber products simplify cleaning, making it quick, easy, and effective, so you can enjoy visible results without the fuss. No streaks, just results.