Free Shipping to Contiguous 48

Home  |  Hard-to-Reach Spots  |  How to Clean Inside the Garbage Can Lid Mechanism: Step-by-Step
How to Clean Inside the Garbage Can Lid Mechanism: Step-by-Step

  • Reviewed by Zac Kieffer

Updated: September 16, 2025

Discover a simple, effective way to clean inside the garbage can lid mechanism using E-Cloth—no harsh chemicals, just spotless results.

Title

How to Clean Inside the Garbage Can Lid Mechanism
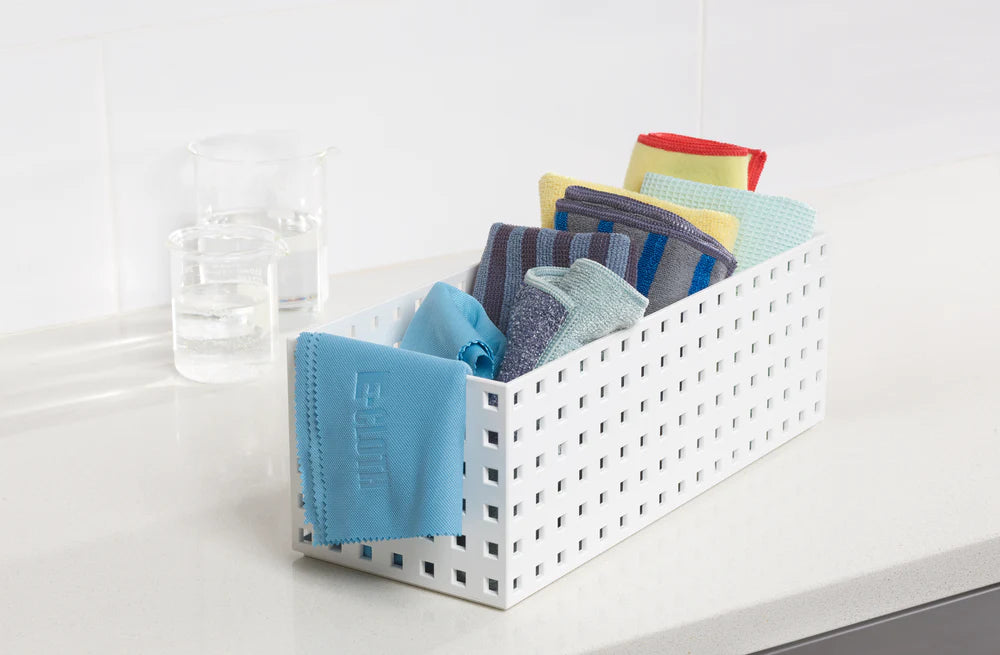
Tools:

- E-Cloth
- Old toothbrush
- Dish soap
- Clean towel
- Bowl or bucket (for soapy water)


Remove and Inspect the Lid

 
  • Detach the lid: If possible, remove the lid to access all nooks and crannies of the mechanism. If it’s fixed, flip it over for better visibility.
  • Check for debris: Look for built-up filth or grime that might be causing unpleasant odors or hindering smooth operation.


Clean Off the Grime

 
  • Wipe it down: Use a damp, soapy cloth to thoroughly clean all surfaces of the mechanism, giving special attention to crevices.
  • Scrub stubborn spots: For areas with tougher gunk, use an old toothbrush to gently scrub them away.


Rinse and Dry

 
  • Wipe with clean water: After scrubbing, wipe the mechanism with a clean, damp cloth to remove any soap residue.
  • Dry it off: Use a dry towel or allow it to air dry completely before reattaching aside from minimizing moisture buildup.


Safety Precautions

  • Wear gloves to protect your hands from bacteria and cleaning chemicals.
  • Unplug automatic lids or remove batteries before cleaning to avoid accidental activation.
  • Avoid harsh chemicals that may damage plastic or metal parts—use mild soap.
  • Work in a well-ventilated area to prevent inhaling fumes from cleaners.
  • Handle sharp edges carefully when removing or flipping the lid.
  • Ensure the lid is completely dry before reattaching to prevent mold or rust.

How to Maintain Cleanliness Inside the Garbage Can Lid Mechanism: Extra Tips

Regular Inspection and Cleaning


  • Schedule visual checks: Take a couple of minutes every week to inspect the lid mechanism for grime or buildup.
  • Look for rust or damage: Clean off any visible salt or dirt that could lead to corrosion over time.
  • Maintain a cleaning log: Keep a simple record of when you last inspected and cleaned it so you don’t miss a spot.

Title

Gentle Cleaning Routine


  • Use mild cleaners: Avoid harsh chemicals that could damage the plastic or metal components. A mix of warm water and a drop of dish soap is often best.
  • Soft cloth or brush: Use a non-abrasive sponge or soft-bristle brush to gently scrub away dirt, ensuring you get into all the crevices.
  • Rinse thoroughly: Remove any soap residue with a quick rinse to prevent buildup and potential deterioration of the mechanism.

Title

Lubrication and Smooth Operation


  • Apply a silicone-based lubricant: This helps keep the moving parts smooth and prevents sticking without attracting extra dirt.
  • Focus on hinges: Lightly coat the pivot areas and any small hinges inside the lid mechanism.
  • Wipe excess lubricant: Use a clean cloth to remove any surplus, ensuring that dirt doesn’t stick to the greasy spots.

Title

Quick Fixes for Stuck Lids


  • Clear obstructions: Check for debris lodged in the hinges or tracks, and gently remove it.
  • Soak troublesome areas: If the lid is stuck, soaking it in warm soapy water for a few minutes can help loosen grime.
  • Test after cleaning: Move the lid several times to ensure the mechanism is operating smoothly, adjusting your cleaning approach if needed.

Common Mistakes When Cleaning Inside the Garbage Can Lid Mechanism

Incomplete Debris Removal

 
  • Debris can build up in hidden nooks within the lid mechanism if not fully disassembled or inspected, leading to prolonged odors and potential mechanism failure.
  • Overlooking the grooves and crevices where food particles accumulate makes it harder to access and thoroughly clean the mechanism.
  • Neglecting to remove all debris can compromise the seal and functionality over time.

Using Inappropriate Cleaning Solutions

 
  • Harsh or abrasive chemicals can damage the surface and moving parts, leading to premature wear or discoloration.
  • Using bleaches or acidic cleaners where they're not recommended might corrode metallic parts or compromise plastic components.
  • It’s important to select cleaning agents that are gentle yet effective, ensuring the longevity of the mechanism.

Neglecting Lubrication and Mechanism Maintenance

 
  • After cleaning, failing to re-lubricate hinges and moving parts can result in stiff or noisy operation, affecting usability.
  • Omitting periodic maintenance allows dirt and grime to accumulate, dynamically worsening the problem over time.
  • Regular check-ups and lubrication can help maintain smooth motion and extend the lifespan of the lid mechanism.

Title

How Often to Clean Inside the Garbage Can Lid Mechanism


Cleaning Frequency for Garbage Can Lid Mechanism


  • Frequency: Clean the inside of the lid mechanism once every month to ensure buildup doesn’t become a health hazard or lead to mechanical issues.
  • Why: Over time, grime, food particles, and moisture accumulate in the hidden crevices of the lid mechanism. This buildup can host bacteria, attract pests, or even cause the latch to stick, making your garbage can less effective. Regular monthly cleaning keeps these narrow spaces hygienic and free from potential smells or corrosion.
  • Usage Considerations: If your trash bin is in a high-traffic area or tends to be loaded with wet, messy waste, you might want to bump up the cleaning frequency to about every 2-3 weeks. This proactive approach helps avoid stubborn stains and ensures optimal lid movement.
  • Long-Term Benefits: Consistency in cleaning not only maintains a more sanitary environment but also prolongs the life of the lid mechanism. Keeping these parts clear of residue helps preserve the integrity of the bin, reducing the likelihood of costly replacements or repairs later.


vs

E-Cloth

Other Brands

Precision-engineered, uniform microfibers

Often crushed/less consistent fibers

No streaks with just water

May need chemicals for same results

Lasts ~300 washes

Many break down faster

Traps and locks in particles

Can smear dirt around

Reduces chemicals & waste, reusable

Less eco, more waste/chemicals

Shop Now

A Clean You Can See


Our high-performance microfiber products simplify cleaning, making it quick, easy, and effective, so you can enjoy visible results without the fuss. No streaks, just results.


Shop Now

30-day money back guarantee