Free Shipping to Contiguous 48

Home  |  Hard-to-Reach Spots  |  How to Clean Inside the Toaster Crumb Tray: Step-by-Step
How to Clean Inside the Toaster Crumb Tray: Step-by-Step

  • Reviewed by Zac Kieffer

Updated: September 16, 2025

Easily clean your toaster’s crumb tray with E-Cloth. Discover a simple, effective method for spotless results—no harsh chemicals needed.

Title

How to Clean Inside the Toaster Crumb Tray
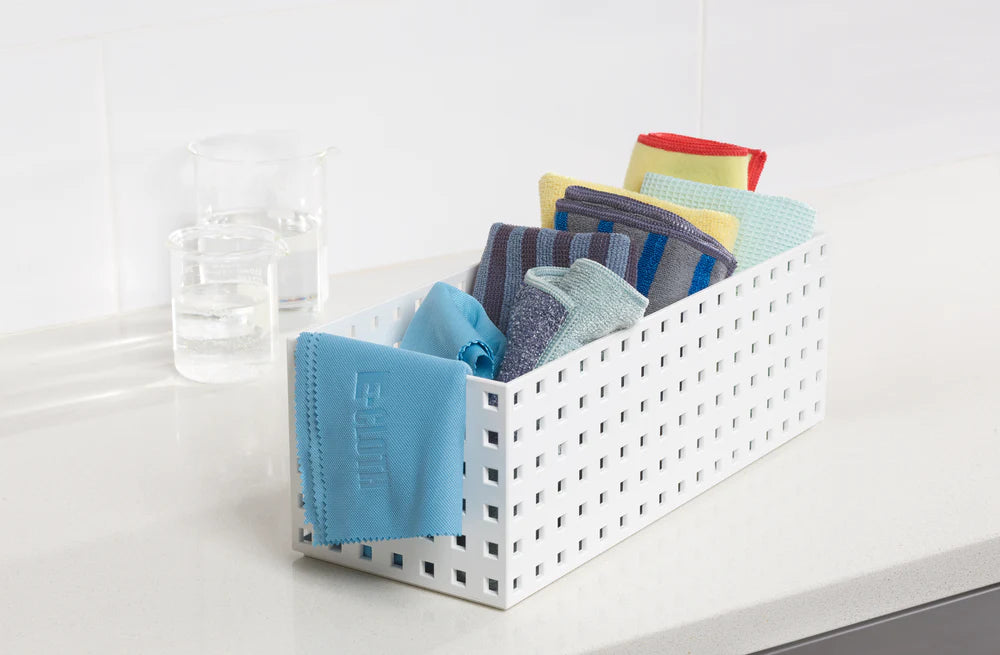
Tools:

- E-Cloth
- Dish soap
- Warm water
- Clean towel
- Trash can or sink


Unplug the Toaster

 
  • Safety first—unplug your toaster before you mess around with it.


Remove the Crumb Tray

 
  • Slide the crumb tray out from the bottom of the toaster. Give it a gentle wiggle if it's being stubborn.


Dump Out the Crumbs

 
  • Over a sink or trash can, shake off all the accumulated crumbs.


Wash the Crumb Tray

 
  • Rinse the tray with warm water and a bit of dish soap. Scrub lightly if any grease or stuck-on bits are around.


Rinse and Dry

 
  • Rinse the tray to remove any soap, then dry it thoroughly with a clean towel or let it air dry.


Reinsert the Tray

 
  • Once dry, slide the crumb tray back into place and you’re all set for a cleaner toasting experience.


Safety Precautions

  • Always unplug the toaster before cleaning to prevent electric shock.
  • Never immerse the toaster or any electrical parts in water.
  • Allow the toaster to cool completely before handling the crumb tray to avoid burns.
  • Handle the crumb tray gently to avoid bending or damaging it.
  • Ensure the tray is completely dry before reinserting to prevent moisture from causing electrical issues.
  • Do not use metal utensils to scrape crumbs, as this can damage the tray or toaster interior.

How to Maintain Cleanliness Inside the Toaster Crumb Tray: Extra Tips

Regular Crumb Tray Emptying

 
  • Make it a habit to empty the crumb tray after each use to prevent buildup and potential fire hazards.
  • This regular maintenance keeps your toaster running efficiently and prolongs its lifespan.
 

Title

Deep Cleaning With Soap and Water

 
  • Remove the tray and soak it in warm, soapy water to loosen stubborn crumbs and grease.
  • Rinse thoroughly and dry completely before reassembling to avoid moisture damage.
 

Title

Use a Soft Brush or Toothpick

 
  • Gently dislodge crumbs stuck in tight areas using a soft-bristled brush or toothpick.
  • This extra tool helps reach nooks that a simple shake might miss, ensuring a thorough clean.
 

Title

Maintain a Clean Surrounding Area

 
  • Regularly wipe down the external surfaces of your toaster and the area around it to avoid any stray crumbs.
  • A clean workspace prevents cross-contamination and keeps your entire kitchen looking neat.
 

Common Mistakes When Cleaning Inside the Toaster Crumb Tray

Don't Unplug the Toaster Before Cleaning

 
  • Always unplug the toaster before removing the crumb tray to avoid any risk of electric shock or accidental burns.
  • Failing to do this is one of the most common and dangerous mistakes.

Using Excessive Liquid or Harsh Chemicals

 
  • Over-wetting the tray or using strong chemical cleaners can lead to damage, rust, or residual harmful residues in your toaster.
  • Stick to a damp cloth and mild detergent to keep your tweezer safe and effective.

Ignoring the Hard-to-Reach Areas

 
  • Often, crumbs left in the corners or under the tray are missed during cleaning, which can cause buildup and may eventually affect toaster performance.
  • Make sure to gently shake out and brush away all debris for a thorough clean.

Title

How Often to Clean Inside the Toaster Crumb Tray


Recommended Cleaning Frequency: Once a Week


  • Maintains Appliance Performance: Weekly cleaning prevents crumb accumulation that can block airflow and affect toasting efficiency.
  • Prevents Odors and Stains: Removing crumbs on a weekly basis stops stale food particles from lingering, which can lead to unwanted odors and residue.
  • Reduces Fire Risk: A routine once-a-week cleaning minimizes the potential for fire hazards by eliminating the buildup of flammable debris.
  • Saves Time in the Long Run: Consistent weekly maintenance makes each cleaning session quicker and more manageable, preventing a larger mess down the line.


vs

E-Cloth

Other Brands

Precision-engineered, uniform microfibers

Often crushed/less consistent fibers

No streaks with just water

May need chemicals for same results

Lasts ~300 washes

Many break down faster

Traps and locks in particles

Can smear dirt around

Reduces chemicals & waste, reusable

Less eco, more waste/chemicals

Shop Now

A Clean You Can See


Our high-performance microfiber products simplify cleaning, making it quick, easy, and effective, so you can enjoy visible results without the fuss. No streaks, just results.


Shop Now

30-day money back guarantee