Free Shipping to Contiguous 48

Home  |  DIY Methods  |  DIY Cleaning Methods for Childrens toys

DIY Cleaning Methods for Childrens toys

  • Reviewed by Zac Kieffer

Updated: September 15, 2025

Discover safe, easy DIY cleaning methods for children’s toys. Keep your kids’ playthings germ-free with simple, effective tips for every type of toy.

DIY Cleaning Methods for Childrens toys

White Vinegar and Water Solution

Mix equal parts white vinegar and warm water in a spray bottle. Spray the solution onto children’s toys, let it sit for a few minutes, then wipe clean with a cloth. This natural cleaner disinfects and removes grime safely without harsh chemicals.

Title


How to Clean Children's Toys with a White Vinegar and Water Solution


  • Mix your solution: Combine equal parts white vinegar and water in a clean spray bottle. For example, use one cup of each. This ratio is gentle enough for most surfaces but still helps wipe away grime.
  •  

  • Spot test first: Before you go wild, spray a small, hidden area of the toy. Some materials (like certain woods or painted finishes) can react to vinegar, so check for any changes in color or texture.
  •  

  • Wipe, don’t soak: Lightly spray the solution onto a clean microfiber cloth or soft rag. Wipe down the toy’s surface, paying extra attention to sticky spots and crevices. Avoid spraying directly onto electronic or battery-operated toys—moisture and electronics are not friends.
  •  

  • Rinse if needed: For toys that little ones put in their mouths, follow up by wiping with a cloth dampened with plain water. This helps remove any lingering vinegar smell or residue.
  •  

  • Dry thoroughly: Use a dry towel to remove excess moisture, then let the toys air dry completely before returning them to the play area. This helps prevent any musty smells or water spots.
  •  

  • What to avoid: Skip this method on plush toys, toys with batteries that can’t be removed, or anything labeled as “surface clean only.” For those, stick to the manufacturer’s care instructions.


Incomplete Germ Removal

This method may not fully eliminate all germs, as white vinegar is less effective against certain bacteria and viruses. Incomplete germ removal can leave toys unsafe for children, especially when thorough disinfection is needed.

Baking Soda and Water Paste

Mix baking soda with a small amount of water to form a paste. Apply the paste to children’s toys using a cloth or sponge, gently scrub, then rinse thoroughly with clean water. This natural method helps remove grime and sanitize toys safely.

Title


Baking Soda and Water Paste for Cleaning Children's Toys


What You’ll Need:

  • Baking soda (the same stuff you use for baking or deodorizing your fridge)
  • Water (plain tap water is fine)
  • A small bowl for mixing
  • A soft cloth or sponge (microfiber works well, but any soft cloth will do)
  • An old toothbrush (optional, for getting into crevices)
  • A clean towel for drying


How to Make the Paste:

  • Mix three parts baking soda with one part water in your bowl. You’re aiming for a thick, spreadable paste—think toothpaste, not soup.
  • If it’s too runny, add a bit more baking soda. If it’s too thick, add a splash more water.


How to Use the Paste on Toys:

  • Dip your cloth or sponge into the paste and gently rub it onto the toy’s surface. Focus on areas with sticky spots, crayon marks, or general grime.
  • For textured toys or hard-to-reach spots, use an old toothbrush to work the paste into crevices.
  • Let the paste sit for a minute or two if you’re dealing with stubborn messes, but don’t let it dry completely.
  • Wipe away the paste with a clean, damp cloth. Make sure to remove all residue—baking soda can leave a powdery film if not rinsed off well.
  • Dry the toy thoroughly with a towel before handing it back to your little one.


What to Watch Out For:

  • Check the toy’s material before you start. Baking soda is mildly abrasive, so avoid using it on toys with delicate finishes, painted surfaces, or electronics.
  • Spot test first on a small, hidden area to make sure the paste doesn’t scratch or dull the surface.
  • Don’t soak wooden toys—use a barely damp cloth and dry them right away to avoid warping.
  • Skip plush toys—this method is best for hard plastic, rubber, or silicone toys.


Quick Tips:

  • Baking soda paste is handy for removing sticky residue, crayon marks, and general gunk from hard toys.
  • Always rinse toys well after cleaning to avoid leaving any residue behind.
  • Let toys air dry completely before putting them away to help prevent musty smells.


Residue Build Up

Using a baking soda and water paste can leave a residue on children’s toys if not rinsed thoroughly, which may attract dirt or cause irritation if ingested or touched by sensitive skin.

Hydrogen Peroxide Spray

Pour 3% hydrogen peroxide into a spray bottle. Lightly spray children’s toys, ensuring all surfaces are covered. Let sit for a few minutes, then wipe with a clean cloth or allow to air dry. This method disinfects toys safely without harsh chemicals.

Title


Hydrogen Peroxide Spray for Cleaning Children's Toys


Hydrogen peroxide (the 3% solution you find at most drugstores) is a common household staple that can be used to clean a variety of surfaces, including children’s toys. It’s a colorless liquid that acts as an oxidizer—meaning it helps break down grime and residue. Here’s how to use it effectively, without overcomplicating things or making promises it can’t keep.


  • Start with a clean slate. If toys are visibly dirty (think: sticky fingerprints, mystery smudges, or last week’s snack), give them a quick wash with mild dish soap and warm water first. Hydrogen peroxide works best on surfaces that are already free of heavy dirt.
  •  

  • Choose the right toys. Hydrogen peroxide is best for hard, non-porous toys—think plastic blocks, action figures, and bath toys. Skip anything with batteries, electronics, or delicate paint jobs, as moisture can cause damage.
  •  

  • Spray, don’t soak. Pour hydrogen peroxide into a clean spray bottle. Lightly mist the toy’s surface—no need to drench it. For smaller toys, you can also wipe them down with a cloth dampened (not dripping) with hydrogen peroxide.
  •  

  • Let it sit. Allow the hydrogen peroxide to sit on the toy’s surface for a few minutes. This gives it time to do its job breaking down residue. There’s no need to rush, but don’t leave it on so long that it dries into streaks.
  •  

  • Wipe or rinse. After a few minutes, wipe the toy with a clean, damp cloth to remove any leftover hydrogen peroxide and loosened grime. For toys that can handle it, a quick rinse under running water works too. Dry thoroughly with a towel or let air dry.
  •  

  • Spot test first. If you’re cleaning a toy for the first time, test a small, hidden area to make sure hydrogen peroxide doesn’t affect the color or finish. Some plastics and paints can be sensitive.
  •  

  • Store safely. Keep hydrogen peroxide in its original brown bottle (it breaks down in light) and out of reach of children. Don’t mix it with other cleaners, especially vinegar or bleach, as this can create unwanted chemical reactions.


Pro tip: Hydrogen peroxide has a mild, almost “clean” scent that fades quickly, so you won’t be left with lingering odors. Just remember, it’s for surface cleaning—don’t use it on plush toys, wood, or anything that can absorb liquid.


Material Damage Risk

Hydrogen peroxide may cause discoloration, fading, or surface damage to certain toy materials, especially fabrics, painted surfaces, or delicate plastics, potentially reducing the toy’s lifespan or appearance.

Mix equal parts rubbing alcohol and water in a spray bottle. Lightly spray onto a clean cloth and wipe down children’s toys. Allow to air dry—this quick-drying solution disinfects and removes grime without leaving residue.

Title


DIY Rubbing Alcohol and Water Wipes for Children's Toys


  • Gather your supplies: You’ll need a clean spray bottle, rubbing alcohol (isopropyl alcohol, ideally 70%), water, a clean microfiber or cotton cloth, and a container with a tight-fitting lid if you want to pre-make wipes.
  •  

  • Mix your solution: Combine equal parts rubbing alcohol and water in your spray bottle. For example, use 1 cup of each. Give it a gentle shake to mix. (If you’re making wipes, pour the solution over folded cloths in your container until they’re damp but not dripping.)
  •  

  • Spot test first: Before you go wild, test the solution on a small, hidden area of the toy. Some plastics and painted surfaces can react to rubbing alcohol, so better safe than sorry.
  •  

  • Wipe down toys: Spray the solution directly onto your cloth (not the toy, to avoid oversaturating). Wipe all surfaces, paying extra attention to sticky spots and crevices where little hands love to leave surprises.
  •  

  • Let air dry: Allow toys to air dry completely before handing them back to the kids. Rubbing alcohol evaporates quickly, so you won’t be waiting long.
  •  

  • For small or intricate toys: Use cotton swabs dipped in your solution to get into nooks and crannies. Just don’t soak the toy—moisture can get trapped inside and cause issues down the line.
  •  

  • Storage tip: If you’ve made a batch of wipes, keep the container sealed when not in use to prevent the solution from evaporating. Make a fresh batch every week or so for best results.
  •  

  • What to avoid: Skip this method on plush toys, electronics, or anything with batteries. Stick to hard, non-porous surfaces like plastic, wood, or rubber.


Hidden Contaminant Persistence

Rubbing alcohol and water wipes may not fully remove or kill all germs and contaminants on children’s toys, allowing hidden bacteria or viruses to persist and potentially cause illness.

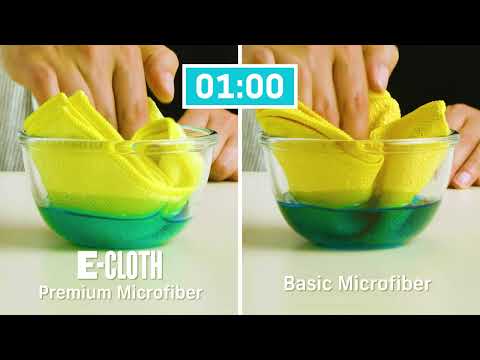
vs

E-Cloth

Other Brands

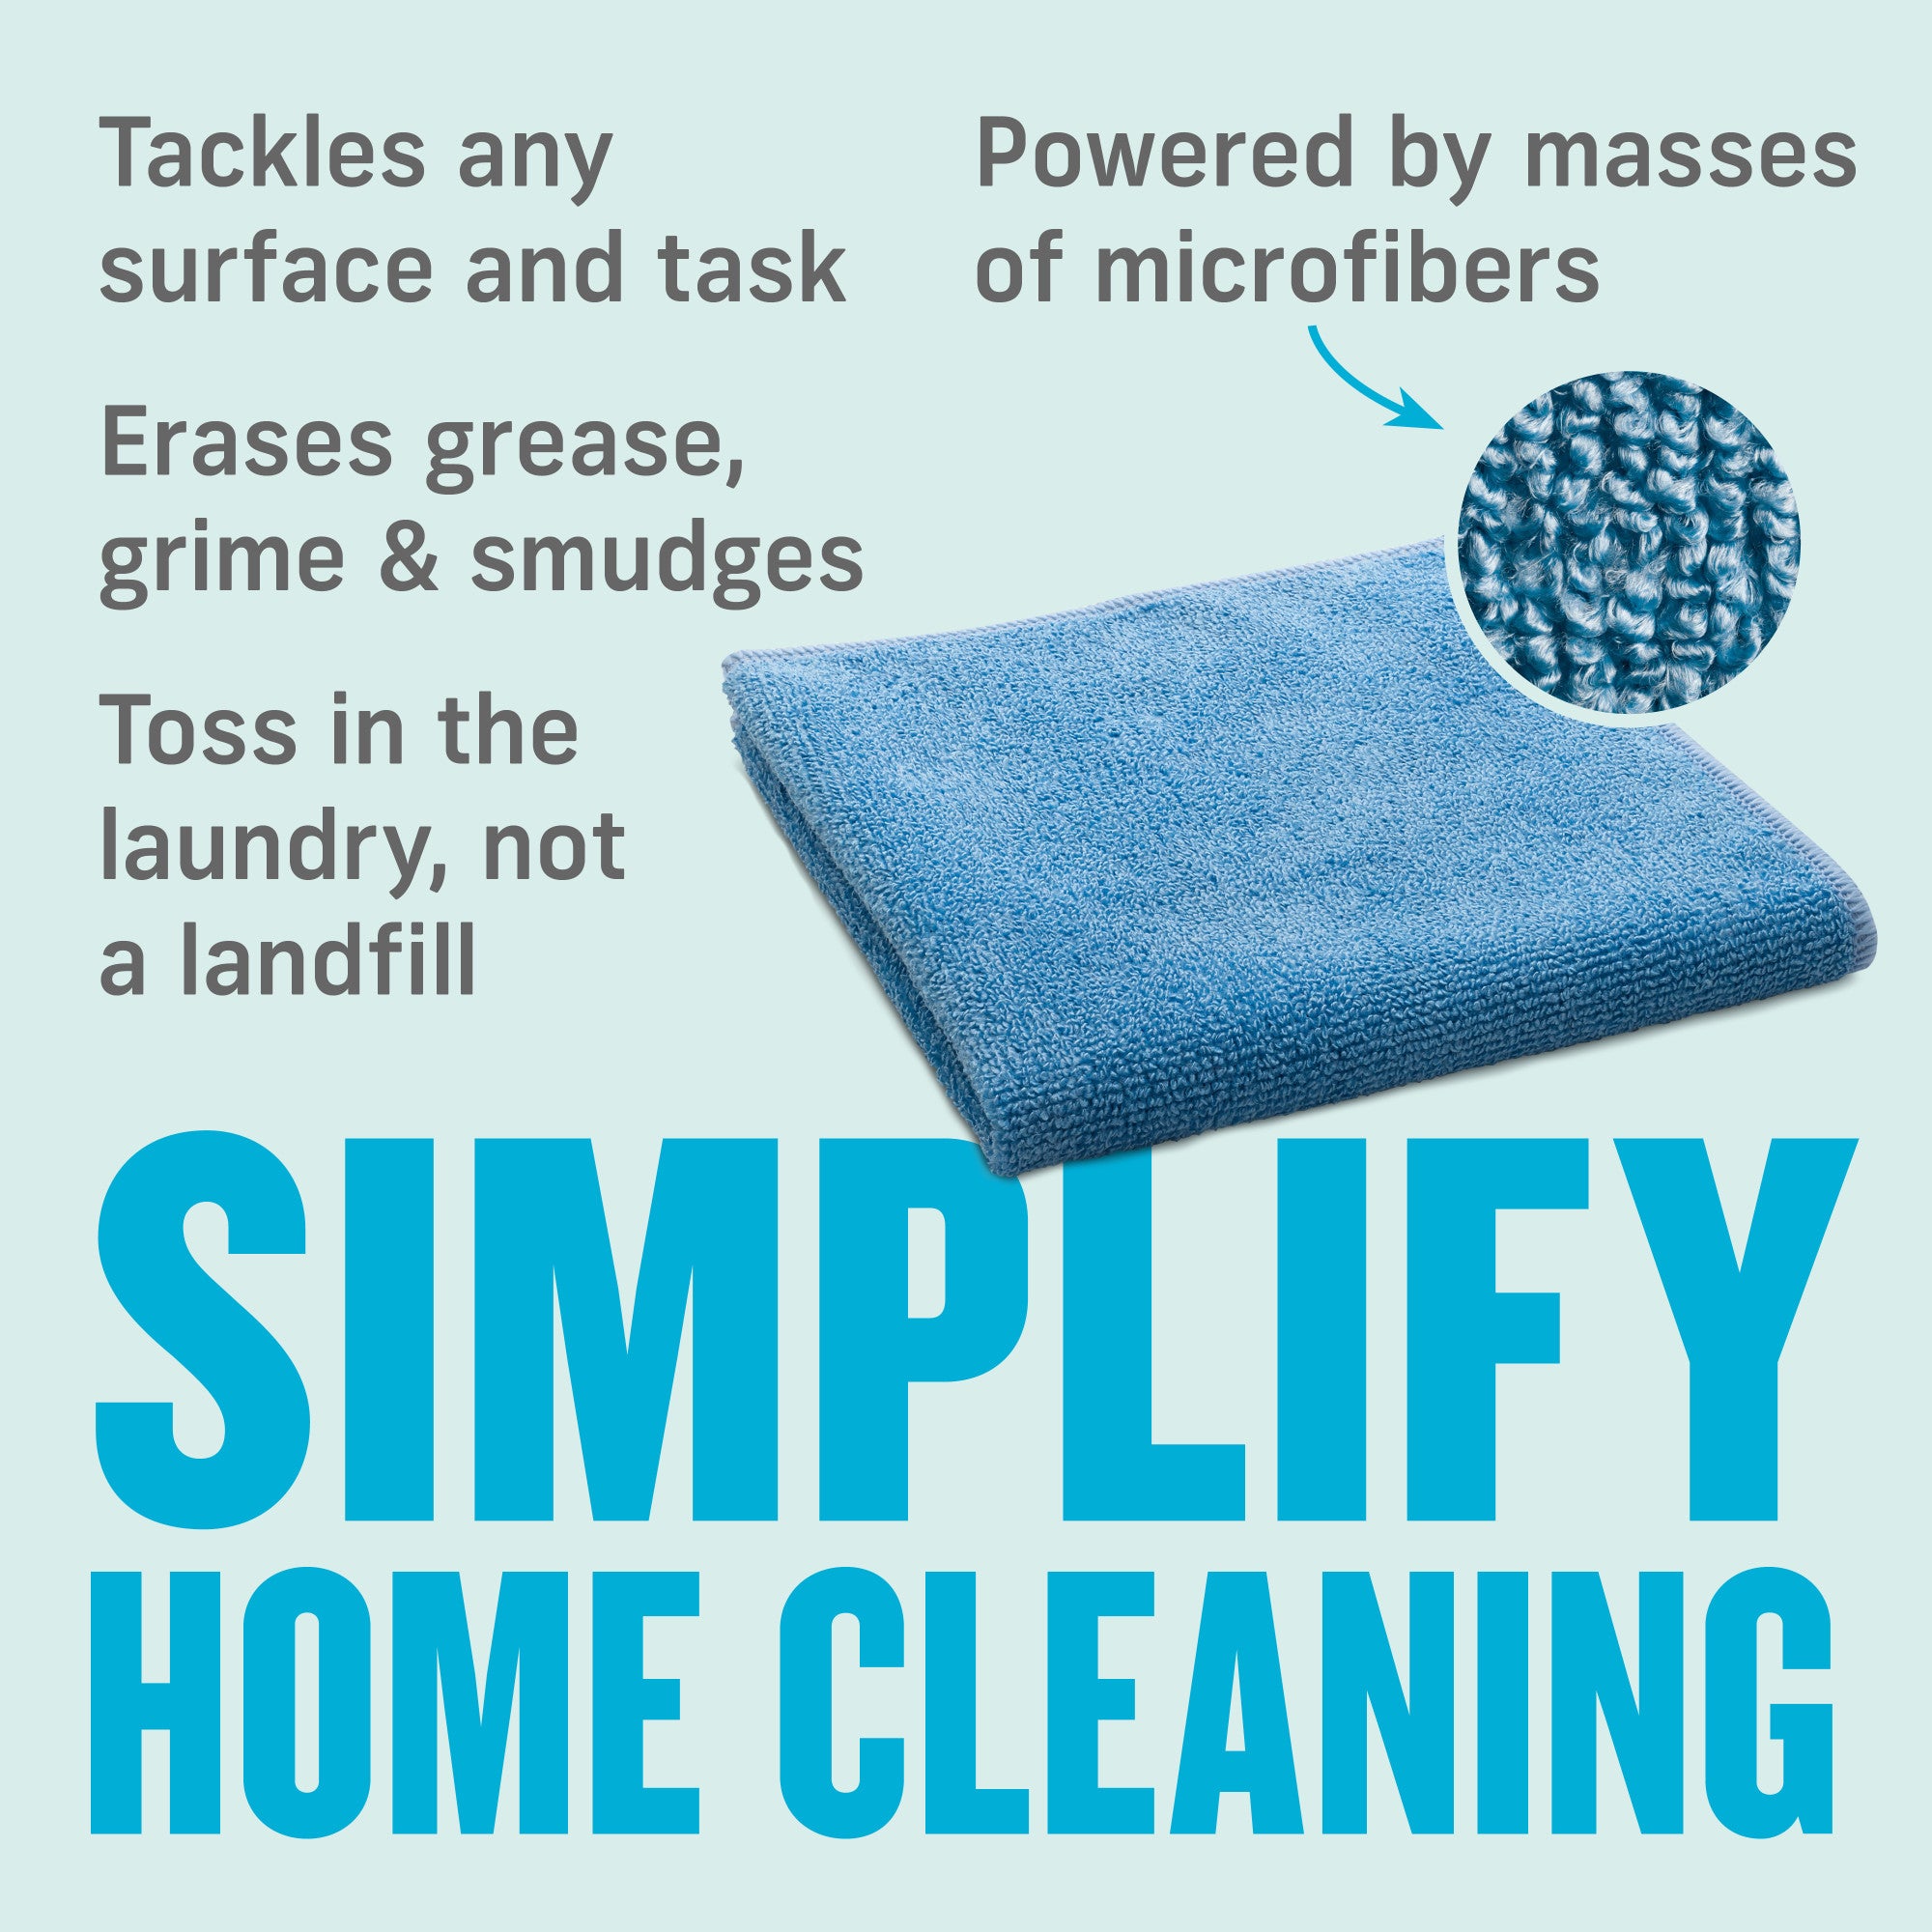
Precision-engineered, uniform microfibers

Often crushed/less consistent fibers

No streaks with just water

May need chemicals for same results

Lasts ~300 washes

Many break down faster

Traps and locks in particles

Can smear dirt around

Reduces chemicals & waste, reusable

Less eco, more waste/chemicals

Shop Now

A Clean You Can See


Our high-performance microfiber products simplify cleaning, making it quick, easy, and effective, so you can enjoy visible results without the fuss. No streaks, just results.


Shop Now

30-day money back guarantee

Experience Real Cleaning

A Clean You Can See

Blue Liquid Glass Cleaner

E-Cloth Window Cleaning Kit