Free Shipping to Contiguous 48

Home  |  DIY Methods  |  DIY Cleaning Methods for Reusable water bottles

DIY Cleaning Methods for Reusable water bottles

  • Reviewed by Zac Kieffer

Updated: September 15, 2025

Discover easy DIY cleaning methods for reusable water bottles. Keep your bottles fresh, odor-free, and safe to use with these simple cleaning tips.

DIY Cleaning Methods for Reusable water bottles

Baking Soda and Vinegar

Add 1–2 tablespoons of baking soda to your reusable water bottle, then fill halfway with white vinegar. Let the mixture fizz and sit for 10–15 minutes. Scrub with a bottle brush, rinse thoroughly with warm water, and let air dry. This method removes odors and stubborn residue naturally.

Title


How to Clean Reusable Water Bottles with Baking Soda and Vinegar


  • Empty and Rinse: Start by pouring out any leftover liquid and giving your bottle a quick rinse with warm water. This helps remove any obvious debris or residue before you get into the deep clean.
  •  

  • Add Baking Soda: Sprinkle about 1–2 teaspoons of baking soda into the bottle. Baking soda is a common household powder (sodium bicarbonate) that’s great for tackling odors and loosening grime.
  •  

  • Pour in Vinegar: Slowly add about 1/2 cup of white distilled vinegar. The mixture will fizz—this is normal and helps break up buildup. Vinegar is a diluted acetic acid that’s often used for cleaning because it can help dissolve mineral deposits and some residues.
  •  

  • Let It Sit: Put the cap on loosely (don’t seal it tight, or you’ll have a mini science experiment on your hands) and let the mixture sit for 10–15 minutes. This gives the fizzing action time to work on the inside of the bottle.
  •  

  • Scrub: After the fizzing settles, use a bottle brush to scrub the inside. Pay extra attention to the bottom and any grooves or threads where grime likes to hide. If your bottle has a narrow neck, a long-handled brush is your best friend here.
  •  

  • Rinse Thoroughly: Dump out the mixture and rinse the bottle several times with warm water. Make sure you get rid of all the baking soda and vinegar—nobody wants their next drink to taste like salad dressing.
  •  

  • Air Dry: Leave the bottle upside down with the cap off to air dry completely. This helps prevent any lingering moisture from causing musty smells.


  • Pro Tip: Don’t forget the cap and any straws or inserts! Soak them in a separate bowl with the same baking soda and vinegar mix, then scrub and rinse well.


Incomplete Bacteria Removal

Baking soda and vinegar may not effectively kill or remove all bacteria in reusable water bottles, leaving harmful microbes behind. This method lacks the disinfecting power needed for thorough sanitation.

Hydrogen Peroxide and Water

Mix equal parts hydrogen peroxide and water in your bottle. Shake well and let it sit for 10-15 minutes. Rinse thoroughly with clean water. This method disinfects and removes odors from reusable water bottles.

Title


How to Clean Reusable Water Bottles with Hydrogen Peroxide and Water


  • Gather your supplies: You’ll need your reusable water bottle (with the lid and any straws or inserts), 3% hydrogen peroxide (the kind you find at most drugstores), clean water, and a bottle brush if you have one.
  •  

  • Empty and rinse: Pour out any leftover liquid and give the bottle a quick rinse with warm water. This helps remove any obvious debris or residue before you get started.
  •  

  • Mix your solution: Combine equal parts 3% hydrogen peroxide and water. For most bottles, about 1/2 cup of each is plenty. If your bottle is extra large, just scale up the mix.
  •  

  • Fill and soak: Pour the hydrogen peroxide and water mixture into the bottle, making sure it covers all interior surfaces. If your bottle has a lid, straw, or other parts, soak those separately in a bowl with the same solution.
  •  

  • Let it sit: Allow the solution to sit in the bottle for at least 10–15 minutes. This gives it time to work on any lingering odors or buildup. For bottles that haven’t been cleaned in a while, you can let it sit a bit longer.
  •  

  • Scrub if needed: Use a bottle brush to scrub the inside, especially around the bottom and any hard-to-reach spots. Don’t forget the threads where the lid screws on—gunk loves to hide there.
  •  

  • Rinse thoroughly: Dump out the solution and rinse the bottle, lid, and any other parts with plenty of clean water. Make sure there’s no hydrogen peroxide left behind—nobody wants their next drink to taste like a science experiment.
  •  

  • Air dry completely: Leave the bottle and its parts to air dry upside down on a clean towel or drying rack. This helps prevent any musty smells from developing.


What is Hydrogen Peroxide?


  • Hydrogen peroxide is a common household liquid that looks like water but has an extra oxygen molecule. It’s often used for cleaning and laundry because it breaks down into water and oxygen as it works.


Tips for Best Results


  • Check your bottle’s material: Most stainless steel and hard plastic bottles can handle hydrogen peroxide, but always check the manufacturer’s care instructions first.
  •  

  • Don’t forget the lid and straw: These parts can trap moisture and residue, so give them just as much attention as the bottle itself.
  •  

  • Regular cleaning matters: Even if you only use your bottle for water, it’s a good idea to clean it every few days to keep it fresh.


Residual Chemical Risks

Improper rinsing after using hydrogen peroxide and water can leave chemical residues in the bottle, posing health risks if ingested and potentially affecting the taste and safety of drinking water.

Lemon Juice and Salt

Sprinkle salt into the bottle, then add a few tablespoons of lemon juice. Close and shake well, letting the mixture scrub the interior. Rinse thoroughly with warm water. This natural method helps remove stains and odors, leaving your bottle fresh and clean.

Title


Lemon Juice and Salt Cleaning for Reusable Water Bottles


  • Gather your supplies: You’ll need a fresh lemon, some table salt, and your reusable water bottle. If your bottle has a narrow neck, a bottle brush can help, but it’s not required.
  •  

  • Slice and squeeze: Cut the lemon in half. Squeeze the juice into the bottle, making sure to catch any seeds before they drop in. The citric acid in lemon juice helps loosen buildup and can help with lingering odors.
  •  

  • Add salt: Pour a generous pinch (about a teaspoon) of salt into the bottle. Table salt works fine. Salt acts as a gentle abrasive, helping to scrub away residue inside the bottle without scratching most materials.
  •  

  • Shake it up: Put the cap on tightly and shake the bottle vigorously for about 30 seconds. The combination of lemon juice and salt will help break up grime and reach spots that are tough to scrub by hand.
  •  

  • Let it sit: For bottles with stubborn stains or odors, let the mixture sit for 10–15 minutes. This gives the lemon juice time to work on any stuck-on gunk.
  •  

  • Scrub if needed: If your bottle is especially grimy, use a bottle brush to scrub the inside. Focus on the bottom and any crevices where residue tends to collect.
  •  

  • Rinse thoroughly: Rinse the bottle several times with warm water to remove all traces of lemon and salt. Make sure there’s no gritty residue left behind, especially if you use your bottle for plain water.
  •  

  • Dry completely: Leave the bottle open and upside down to air dry. This helps prevent moisture from getting trapped, which can lead to musty smells.


  • Pro tip: If your bottle has a removable lid, straw, or gasket, take those apart and clean them separately with the same lemon and salt mixture. Small parts can harbor buildup too.


Hidden Mold Growth

Lemon juice and salt may not reach or remove hidden mold inside bottle crevices, allowing mold to persist and pose health risks even after cleaning. This method is less effective for deep or invisible mold growth.

Add a small handful of uncooked rice and warm water to your reusable water bottle. Close and shake vigorously for a minute. The rice acts as a gentle scrubber, helping to dislodge residue and stains from hard-to-reach areas. Rinse thoroughly for a clean, fresh bottle.

Title


How to Clean Reusable Water Bottles with Rice and Warm Water


  • Gather your supplies: You’ll need uncooked rice (about a tablespoon), warm water, and your reusable water bottle. If your bottle has a narrow neck, a funnel can help get the rice inside without a mess.
  •  

  • Add the rice: Pour the rice into the empty bottle. The rice acts as a gentle abrasive, helping to scrub away residue and buildup from the inside walls—especially in spots your bottle brush can’t reach.
  •  

  • Pour in warm water: Fill the bottle about halfway with warm (not hot) water. Too hot, and you risk warping some plastics or damaging seals. Warm water helps loosen grime and makes the rice more effective as it swirls around.
  •  

  • Seal and shake: Put the cap on tightly. Now, shake the bottle vigorously for 30 seconds to a minute. The rice will bounce around, scrubbing the interior. Pay extra attention to the bottom and any corners where gunk likes to hide.
  •  

  • Rinse thoroughly: Dump out the rice and water mixture. Rinse the bottle several times with clean water to remove any leftover rice grains or residue. If you spot any stubborn bits, repeat the process or use a bottle brush for backup.
  •  

  • Let it dry completely: Leave the bottle open and upside down to air dry. This helps prevent moisture from getting trapped, which can lead to odors or buildup over time.
  •  

  • Extra tip: If your bottle has a removable lid, straw, or gasket, take those apart and clean them separately. Rice and water won’t always reach every nook in these parts, so a small brush or a good soak can help.


Biofilm Build-Up

Rice and warm water may not effectively remove biofilm, a slimy layer of bacteria that can cling to bottle surfaces. This method lacks the scrubbing and disinfecting power needed to break down and eliminate stubborn biofilm build-up.

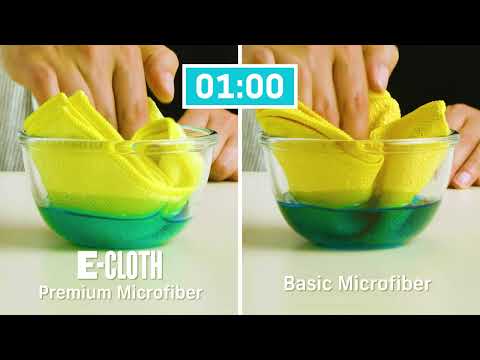
vs

E-Cloth

Other Brands

Precision-engineered, uniform microfibers

Often crushed/less consistent fibers

No streaks with just water

May need chemicals for same results

Lasts ~300 washes

Many break down faster

Traps and locks in particles

Can smear dirt around

Reduces chemicals & waste, reusable

Less eco, more waste/chemicals

Shop Now

A Clean You Can See


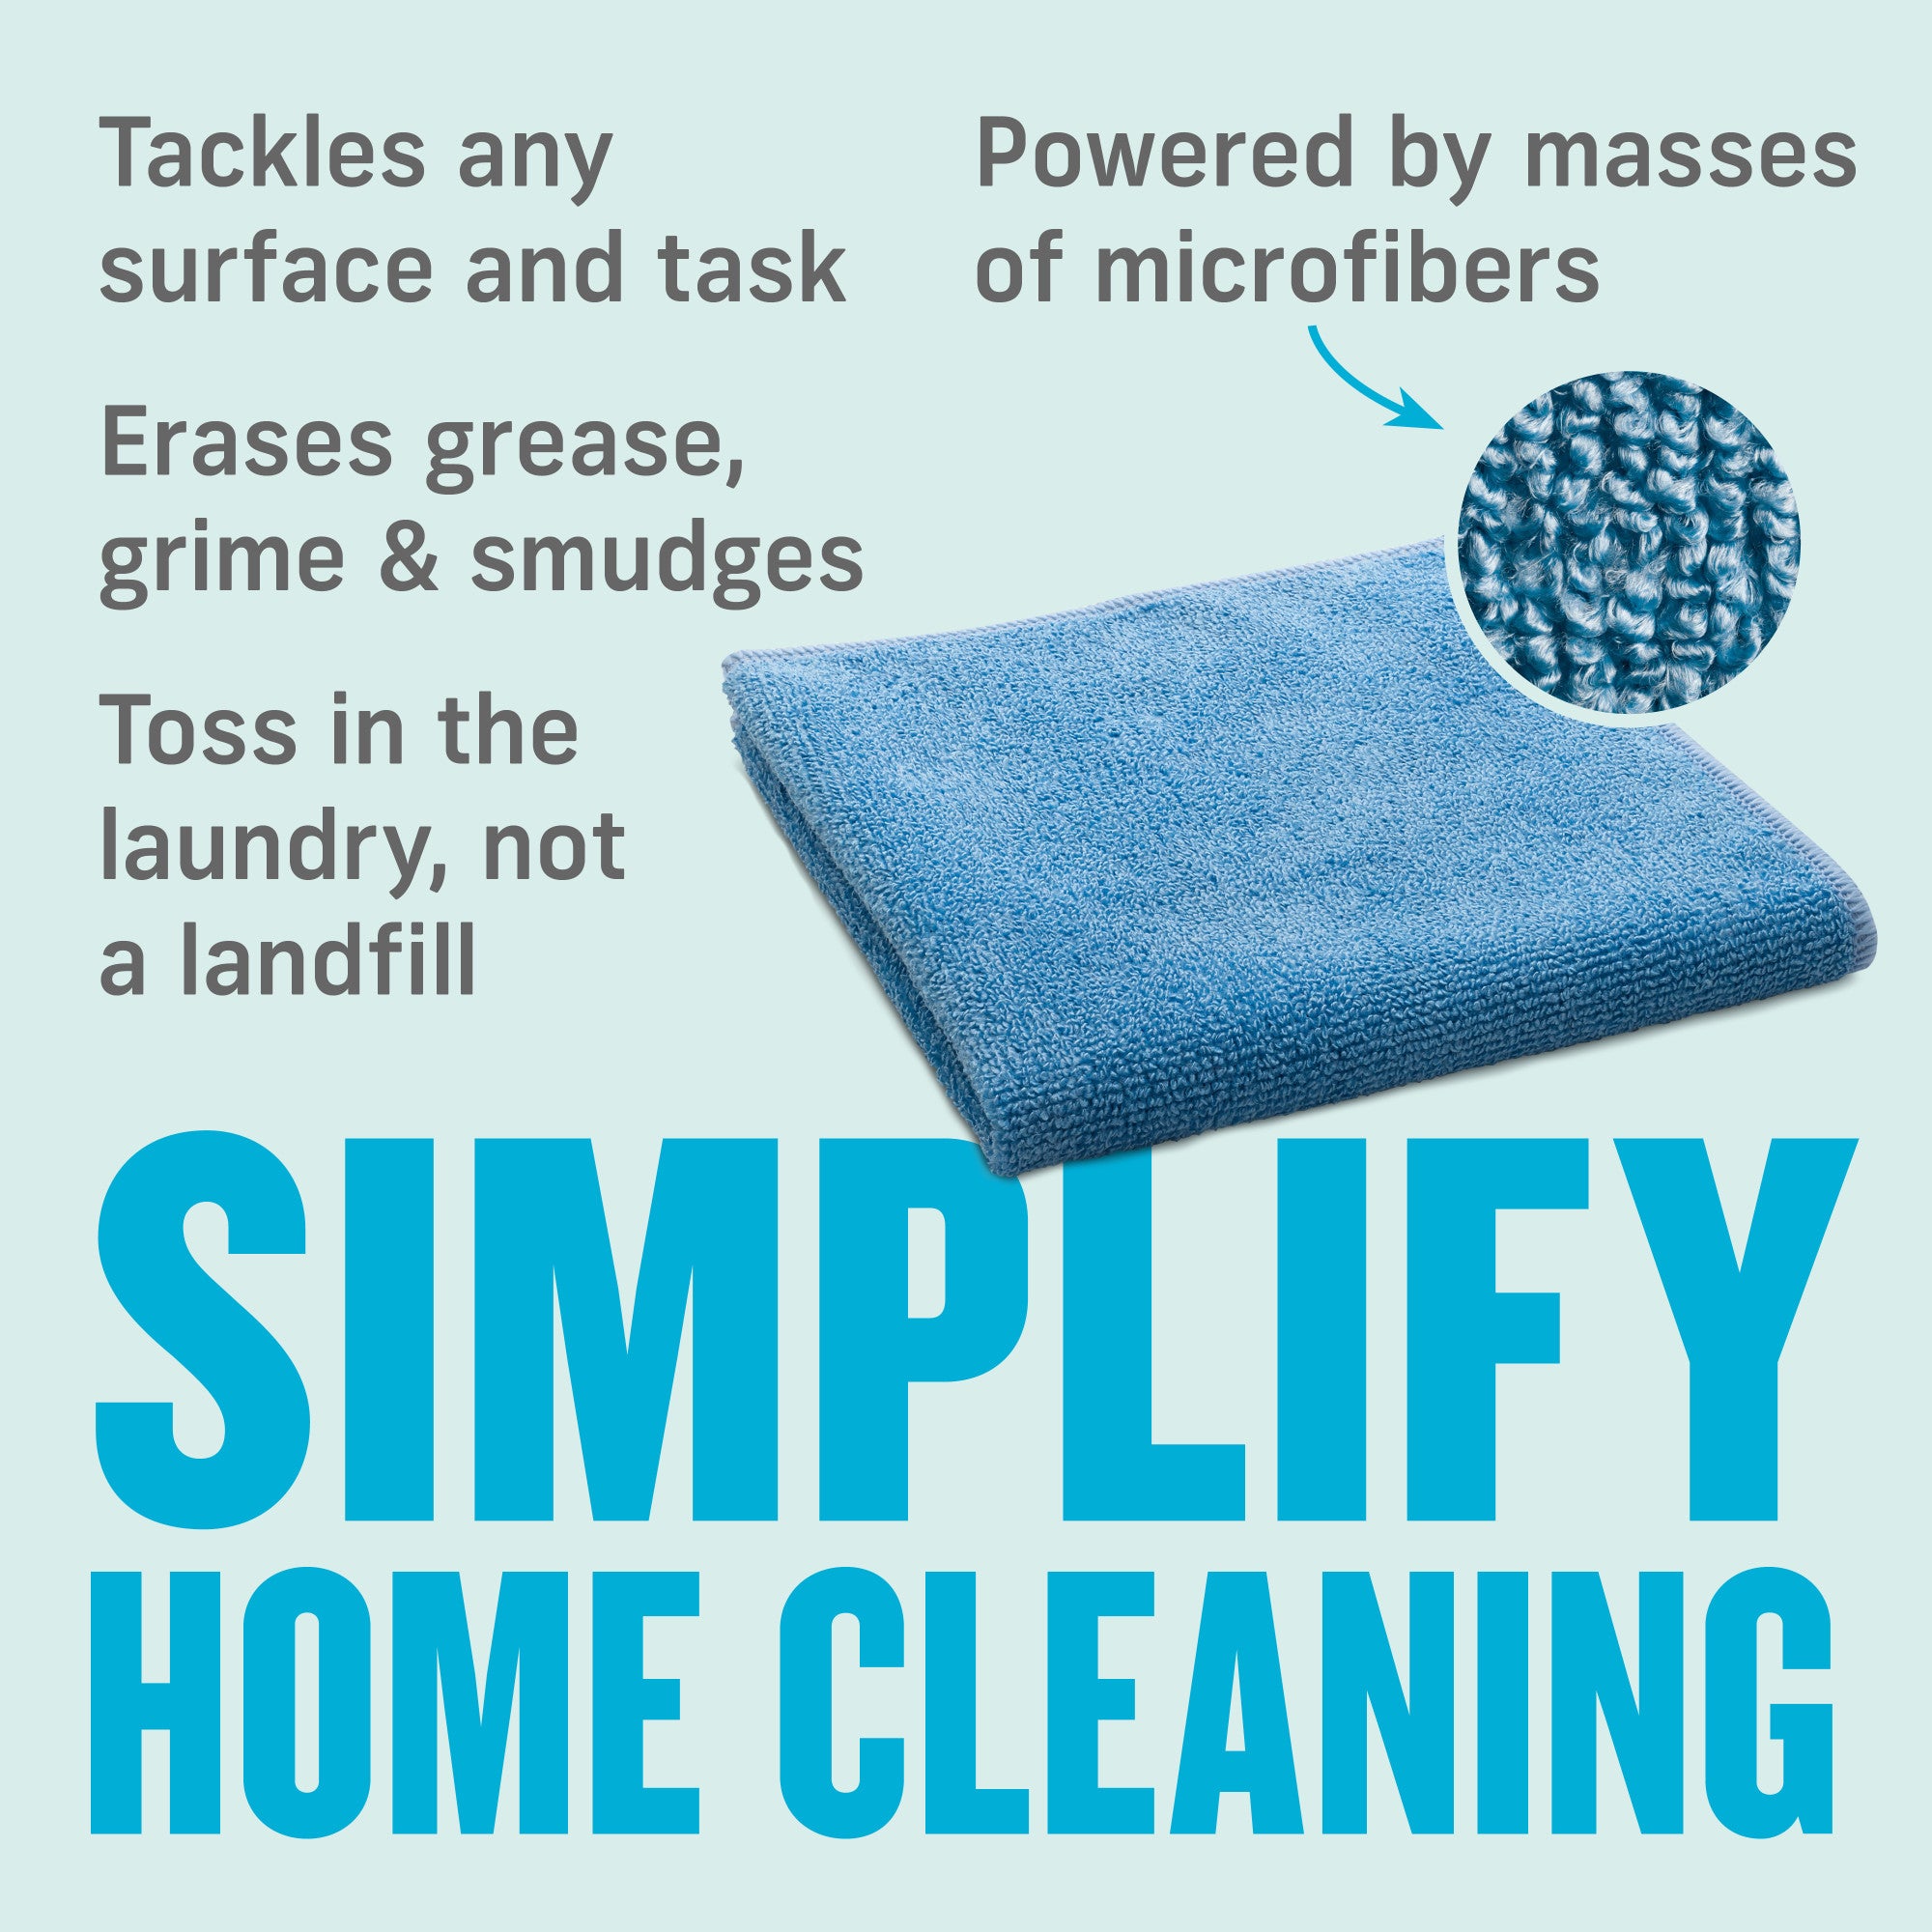
Our high-performance microfiber products simplify cleaning, making it quick, easy, and effective, so you can enjoy visible results without the fuss. No streaks, just results.


Shop Now

30-day money back guarantee

Experience Real Cleaning

A Clean You Can See

Blue Liquid Glass Cleaner

E-Cloth Window Cleaning Kit