Free Shipping to Contiguous 48

Home  |  DIY Methods  |  DIY Cleaning Methods for Toilet

DIY Cleaning Methods for Toilet

  • Reviewed by Zac Kieffer

Updated: September 15, 2025

Discover easy and effective DIY cleaning methods for your toilet. Keep your bathroom fresh and spotless with simple, affordable solutions you can make at home.

DIY Cleaning Methods for Toilet

Baking Soda and Vinegar

Sprinkle baking soda inside the toilet bowl, then pour white vinegar over it. Let the mixture fizz and sit for 10–15 minutes. Scrub with a toilet brush and flush for a clean, deodorized toilet. This natural method removes stains and neutralizes odors.

Title


Baking Soda and Vinegar Toilet Cleaning Guide


  • Gather your supplies: You’ll need baking soda, white distilled vinegar, a toilet brush, and a pair of gloves. Optional: a microfiber cloth for wiping down the exterior.
  •  

  • Flush the toilet to start with a wet bowl. This helps the baking soda stick to the sides instead of sliding straight down the drain.
  •  

  • Sprinkle a generous amount of baking soda (about 1/2 cup) around the inside of the toilet bowl, focusing on stains and under the rim. Baking soda is a mild abrasive, which means it can help scrub away grime without scratching porcelain.
  •  

  • Pour about 1 cup of vinegar into the bowl, aiming for the areas with baking soda. The mixture will fizz—this is normal and helps loosen buildup. Let it bubble for at least 10 minutes. If you’re dealing with stubborn stains, you can let it sit for up to 30 minutes.
  •  

  • Scrub the bowl thoroughly with a toilet brush, paying extra attention to mineral rings and under the rim. The fizzing action helps, but elbow grease is still your best friend here.
  •  

  • Flush to rinse away the mixture and any loosened debris. If you see any spots left behind, repeat the process or spot-treat as needed.
  •  

  • Wipe down the exterior of the toilet with a damp microfiber cloth and a little vinegar if you want to tackle drips or dust. Don’t forget the flush handle and seat hinges—these spots get touched a lot.
  •  

  • Ventilate the bathroom while you clean. Vinegar has a strong scent, but it dissipates quickly with airflow.


Limited Cleaning Power

Baking soda and vinegar lack the strength to break down tough stains, mineral deposits, and bacteria in toilets, resulting in limited cleaning power compared to commercial cleaners. This can leave surfaces less sanitized and visibly unclean.

Borax Powder and Lemon Juice

Sprinkle borax powder into the toilet bowl, then pour in freshly squeezed lemon juice. Let the mixture sit for 15–20 minutes. Scrub with a toilet brush and flush. This natural combination helps remove stains, deodorize, and disinfect the toilet.

Title


Borax Powder and Lemon Juice: DIY Toilet Cleaning Guide


What You’ll Need:


  • Borax powder (found in the laundry aisle)
  • Fresh lemon juice (bottled works in a pinch, but fresh is best for the scent)
  • Toilet brush
  • Measuring spoon or cup
  • Rubber gloves (optional, but recommended for sensitive skin)


How It Works:


  • Borax powder is a mineral-based cleaning booster. It’s often used in laundry, but it can help with toilet stains by loosening mineral deposits and grime.
  •  
  • Lemon juice contains citric acid, which can help break down some stains and leaves a fresh scent behind. It’s also handy for helping to dissolve limescale and hard water marks.


Step-by-Step Cleaning Method:


  • Put on gloves if you’re using them. Sprinkle about 1/4 cup of borax powder directly into the toilet bowl, aiming for stained areas.
  •  
  • Pour roughly 1/2 cup of lemon juice over the borax. You’ll see some fizzing—this is normal and helps with the cleaning process.
  •  
  • Let the mixture sit for at least 15–30 minutes. For stubborn stains, leaving it for an hour or even overnight can help.
  •  
  • Scrub the bowl thoroughly with a toilet brush, focusing on any visible stains or mineral buildup.
  •  
  • Flush to rinse away the mixture and check your work. Repeat if needed for tough spots.


Tips for Best Results:


  • For hard water stains or rings, you can repeat the process or let the mixture sit longer before scrubbing.
  •  
  • If you have a toilet with persistent buildup, regular use of this method can help keep things under control.
  •  
  • Always store borax out of reach of children and pets, and avoid mixing it with other cleaning products.


What to Expect:


  • This method can help loosen and lift stains, especially those caused by hard water or mineral deposits.
  •  
  • Lemon juice leaves a fresh scent, but it won’t mask all odors if there’s a deeper issue in the plumbing.
  •  
  • Results can vary depending on the age and severity of stains, as well as the mineral content of your water.


Incomplete Disinfection Risk

Using borax powder and lemon juice may not fully disinfect the toilet, leaving harmful bacteria or viruses behind. This DIY method lacks the proven effectiveness of commercial disinfectants, increasing the risk of incomplete sanitation.

Hydrogen Peroxide and Essential Oil

Mix 1 cup hydrogen peroxide with 10 drops of your favorite essential oil in a spray bottle. Spray the solution inside the toilet bowl and on surfaces. Let sit for 10 minutes, then scrub and flush. This natural cleaner disinfects and leaves a fresh scent.

Title


DIY Toilet Cleaning with Hydrogen Peroxide and Essential Oil


What You’ll Need:

  • 3% hydrogen peroxide (the kind you find in the brown bottle at most drugstores)
  •  
  • Your favorite essential oil (think tea tree, lavender, or eucalyptus—just a few drops will do)
  •  
  • A spray bottle (preferably opaque, since hydrogen peroxide breaks down in light)
  •  
  • Toilet brush
  •  
  • Gloves (optional, but always a good idea when cleaning toilets)


How to Mix It Up:

  • Pour about 1 cup of 3% hydrogen peroxide into your spray bottle.
  •  
  • Add 10–15 drops of essential oil. This is mostly for scent, since the oil won’t mix perfectly with the peroxide, but it’ll make the job a little less nose-wrinkling.
  •  
  • Give the bottle a gentle shake before each use to disperse the oil.


How to Use It:

  • Flush the toilet to start with a wet bowl. This helps the solution spread around.
  •  
  • Spray the inside of the bowl generously, aiming for under the rim and any visible stains.
  •  
  • Let it sit for at least 10 minutes. This gives the hydrogen peroxide time to do its thing—loosening up grime and making it easier to scrub away.
  •  
  • Scrub with a toilet brush, focusing on any stubborn spots.
  •  
  • Flush again to rinse everything away. If you want, you can give the seat and handle a quick spritz and wipe, too (just don’t forget to rinse your cloth afterward).


What’s Actually Happening Here?

  • Hydrogen peroxide is a mild oxidizer, which means it helps break down stains and mineral deposits. It’s often used as an alternative to bleach for general cleaning tasks.
  •  
  • Essential oils add a pleasant scent and, depending on the oil, may help mask odors. They don’t mix with water or peroxide, so you’ll see them float, but that’s normal.
  •  
  • This combo is best for regular maintenance and freshening up, not for tackling heavy-duty buildup or deep stains.


Extra Tips from the Field:

  • Always store hydrogen peroxide in a dark bottle and out of direct sunlight, or it’ll lose its oomph.
  •  
  • Don’t mix hydrogen peroxide with vinegar or bleach—stick to one cleaner at a time to avoid unwanted chemical reactions.
  •  
  • If you’re sensitive to scents, skip the essential oil. The peroxide alone will still help with cleaning.


Stain Penetration Issues

Hydrogen peroxide and essential oils may not fully penetrate tough stains in toilet bowls, leading to incomplete cleaning. This can leave behind discoloration or buildup, especially with older or deeply set stains.

Pour a bottle of Coca-Cola around the rim of the toilet bowl, ensuring it coats the stains. Let it sit for at least an hour or overnight for tough stains. Scrub with a toilet brush and flush to reveal a cleaner bowl. The acidity in Coca-Cola helps break down grime and limescale.

Title


Coca-Cola Soak for Toilet Cleaning: A Straightforward Guide


  • Gather your supplies: You’ll need a can or bottle of regular Coca-Cola (not diet or zero sugar), a toilet brush, and some gloves if you prefer to keep your hands clean.
  •  

  • Pour the Coca-Cola: Open the toilet lid and pour about 12 ounces (one can) of Coca-Cola directly around the rim of the toilet bowl. Make sure to coat the sides as you pour, so the soda runs down and covers any stains or mineral buildup.
  •  

  • Let it soak: Allow the Coca-Cola to sit in the bowl for at least an hour. For tougher stains, you can leave it overnight. The mild acidity in the soda (mainly from phosphoric and citric acids) helps loosen mineral deposits and some surface stains.
  •  

  • Scrub the bowl: After soaking, use a toilet brush to scrub the bowl, focusing on any stained or discolored areas. The soda should have loosened up some of the grime, making it easier to brush away.
  •  

  • Flush: Once you’ve given the bowl a good scrub, flush the toilet to rinse away the soda and any loosened debris. If needed, repeat the process for stubborn spots.
  •  

  • What’s happening here? Coca-Cola contains mild acids that can help break down some mineral stains and surface grime. It’s not a heavy-duty cleaner, but it can be a handy option for light buildup or as a quick fix when you’re out of traditional toilet bowl cleaner.
  •  

  • Extra tip: If you’re dealing with hard water stains or rings, try soaking a few sheets of toilet paper in Coca-Cola and pressing them against the affected area. Let them sit for an hour before scrubbing and flushing.


Residue Build-Up Potential

Using Coca-Cola to clean a toilet can leave behind sticky residue and sugar, which may attract dirt and bacteria, leading to further build-up and making the toilet harder to clean over time.

vs

E-Cloth

Other Brands

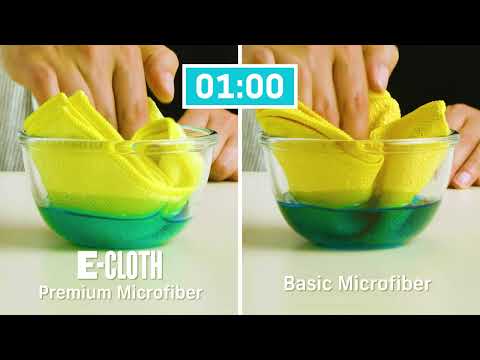
Precision-engineered, uniform microfibers

Often crushed/less consistent fibers

No streaks with just water

May need chemicals for same results

Lasts ~300 washes

Many break down faster

Traps and locks in particles

Can smear dirt around

Reduces chemicals & waste, reusable

Less eco, more waste/chemicals

Shop Now

A Clean You Can See


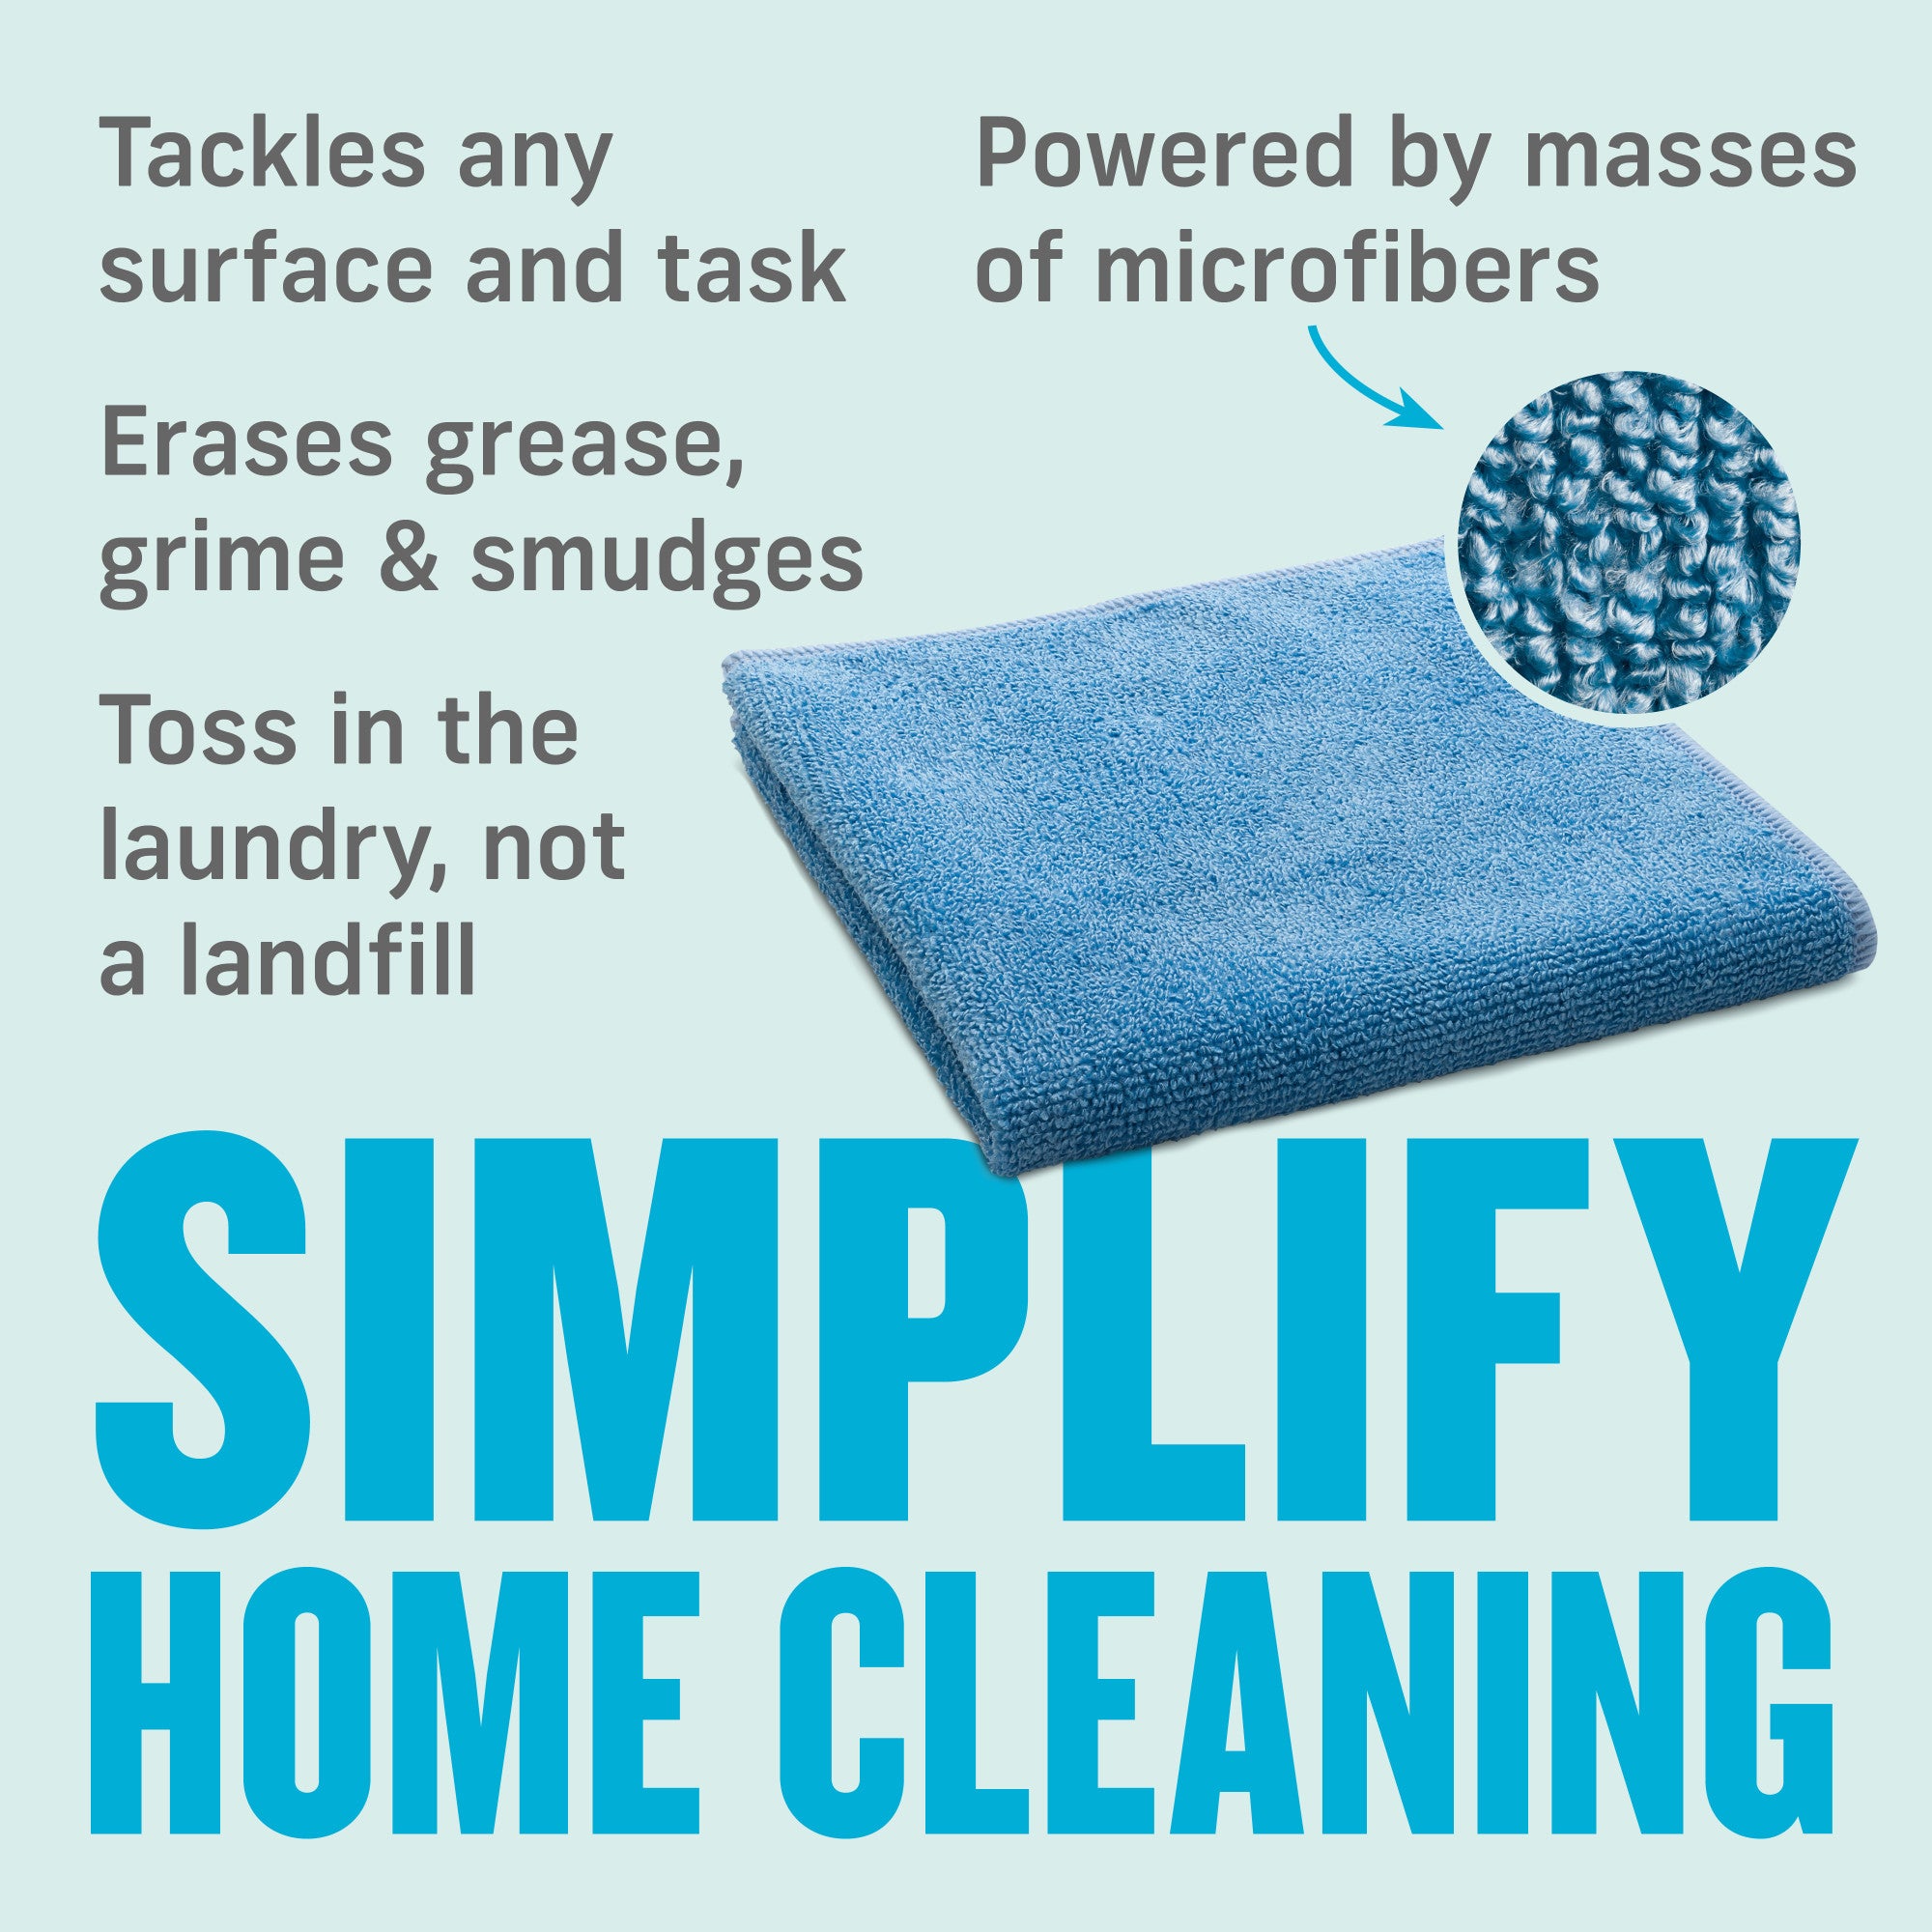
Our high-performance microfiber products simplify cleaning, making it quick, easy, and effective, so you can enjoy visible results without the fuss. No streaks, just results.


Shop Now

30-day money back guarantee

Experience Real Cleaning

A Clean You Can See

Blue Liquid Glass Cleaner

E-Cloth Window Cleaning Kit