


Experience Real Cleaning
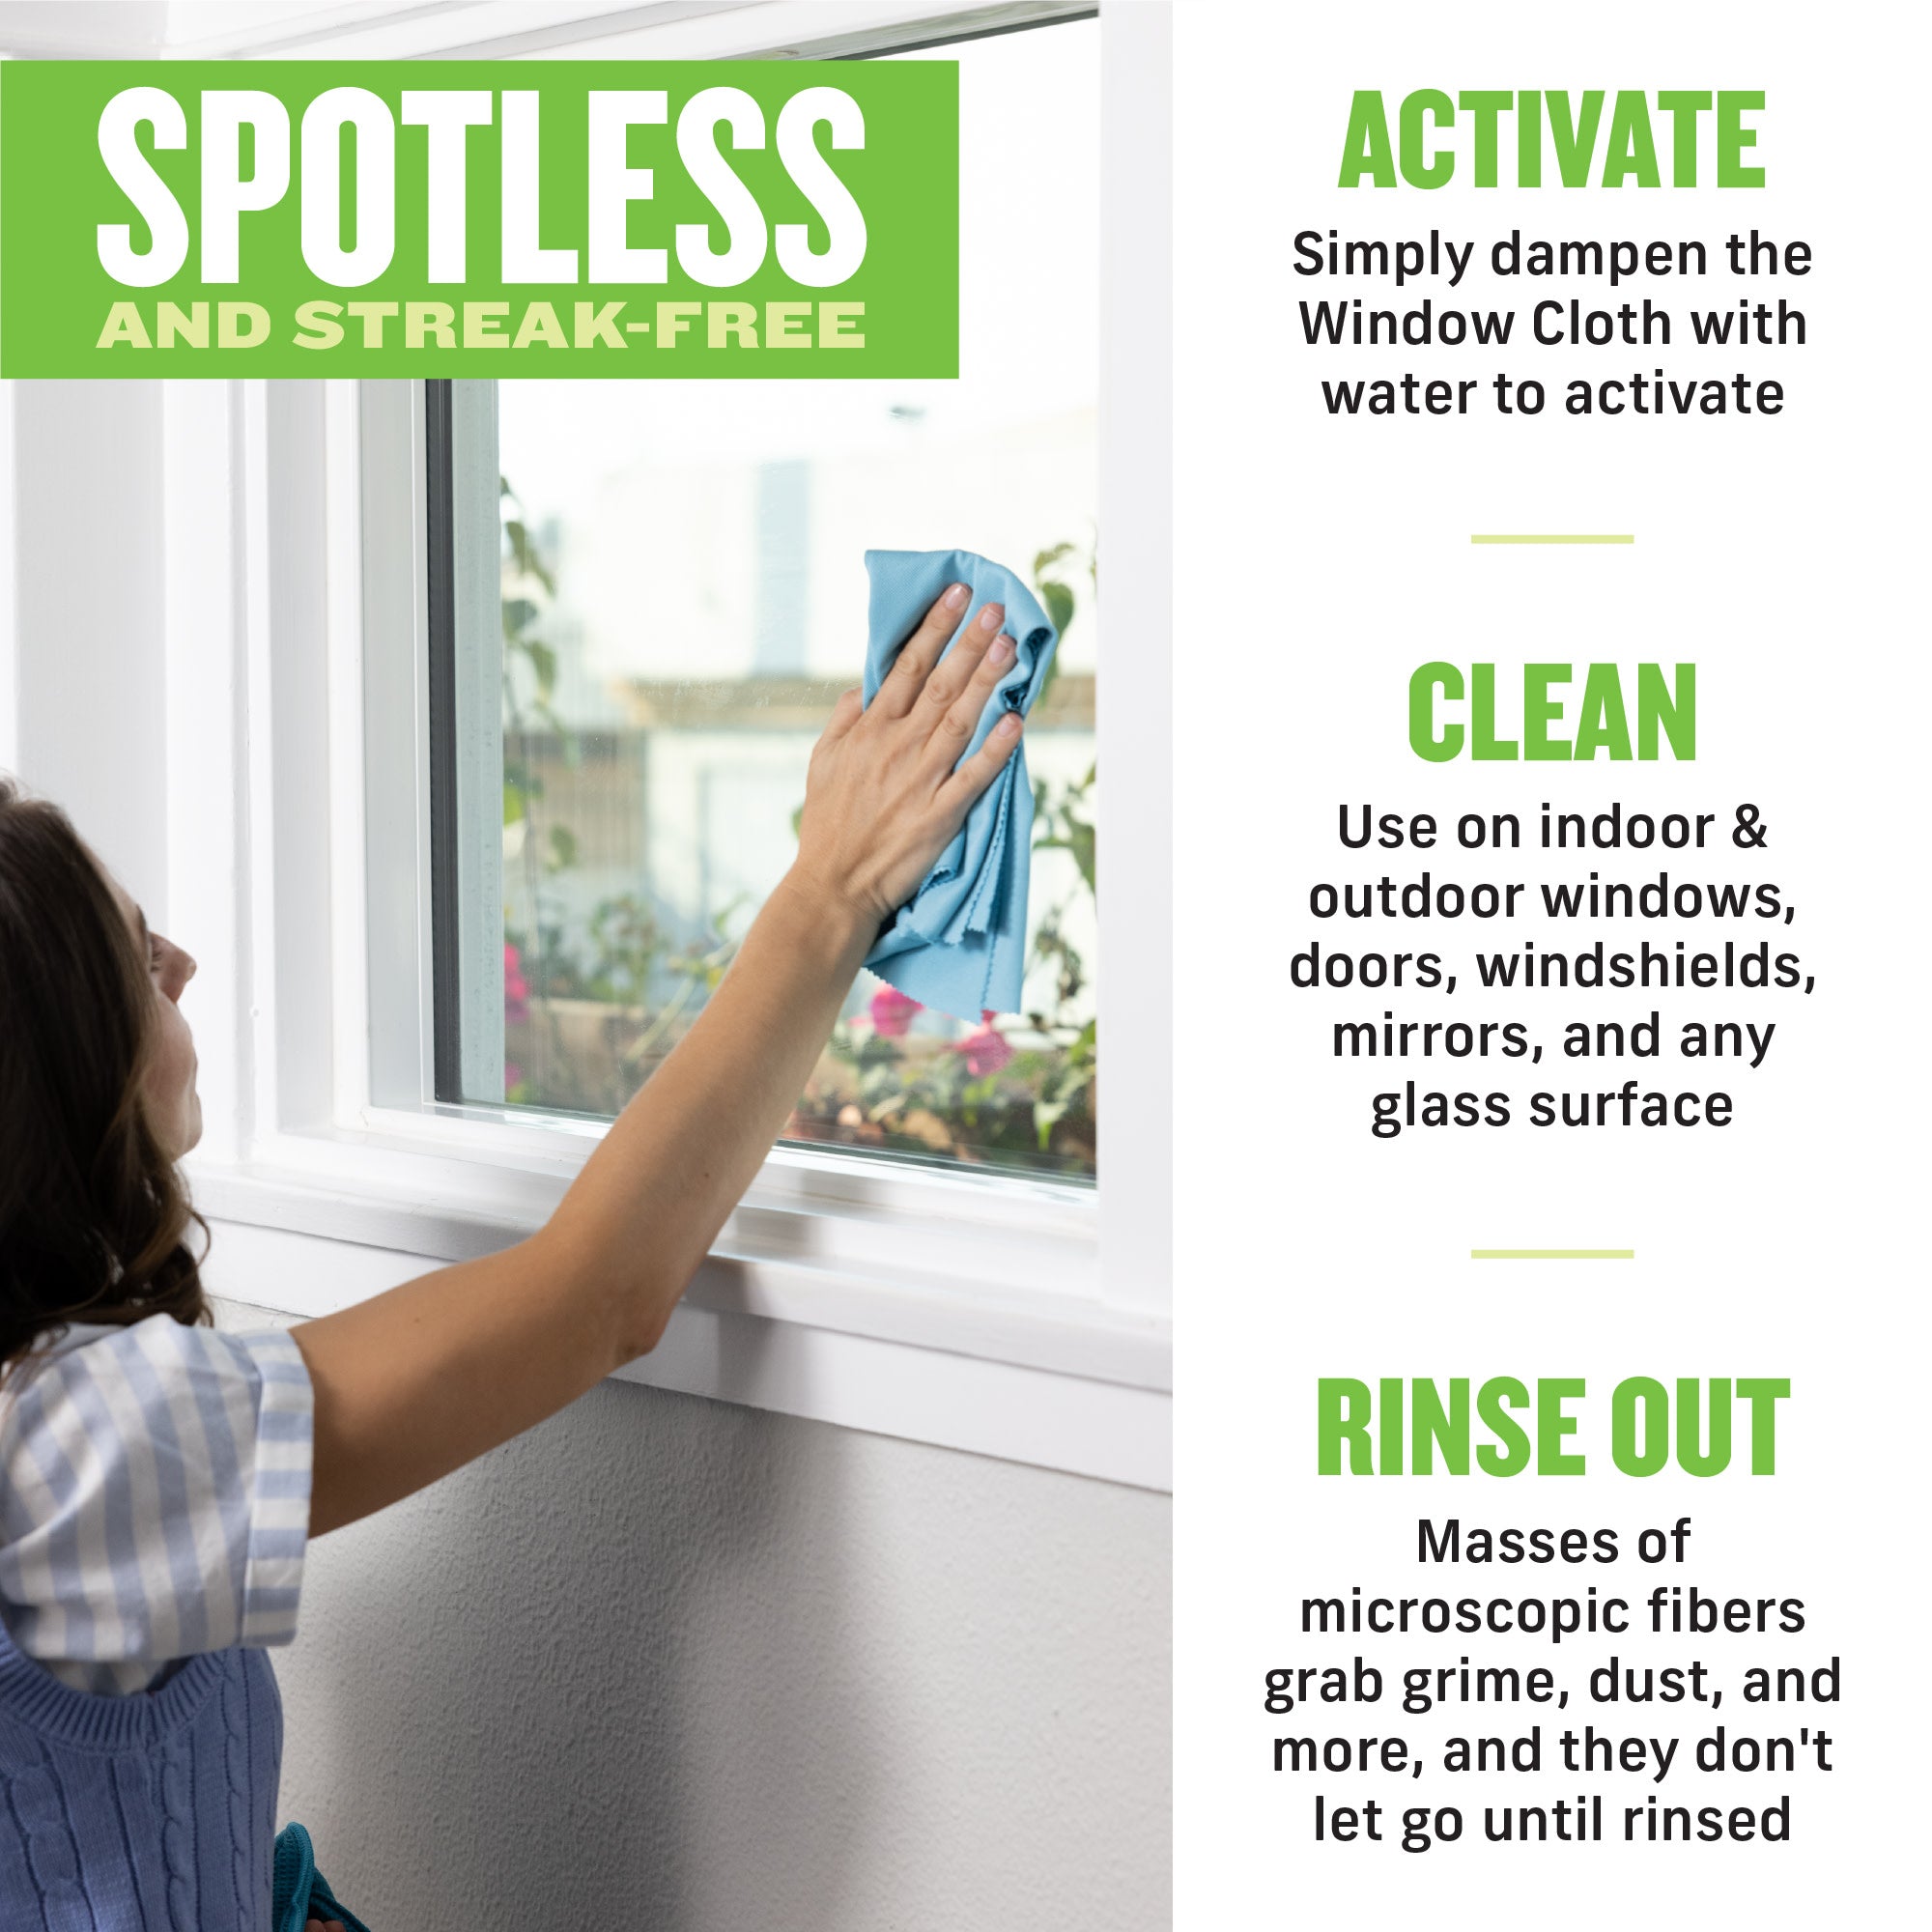
A Clean You Can See

Blue Liquid Glass Cleaner

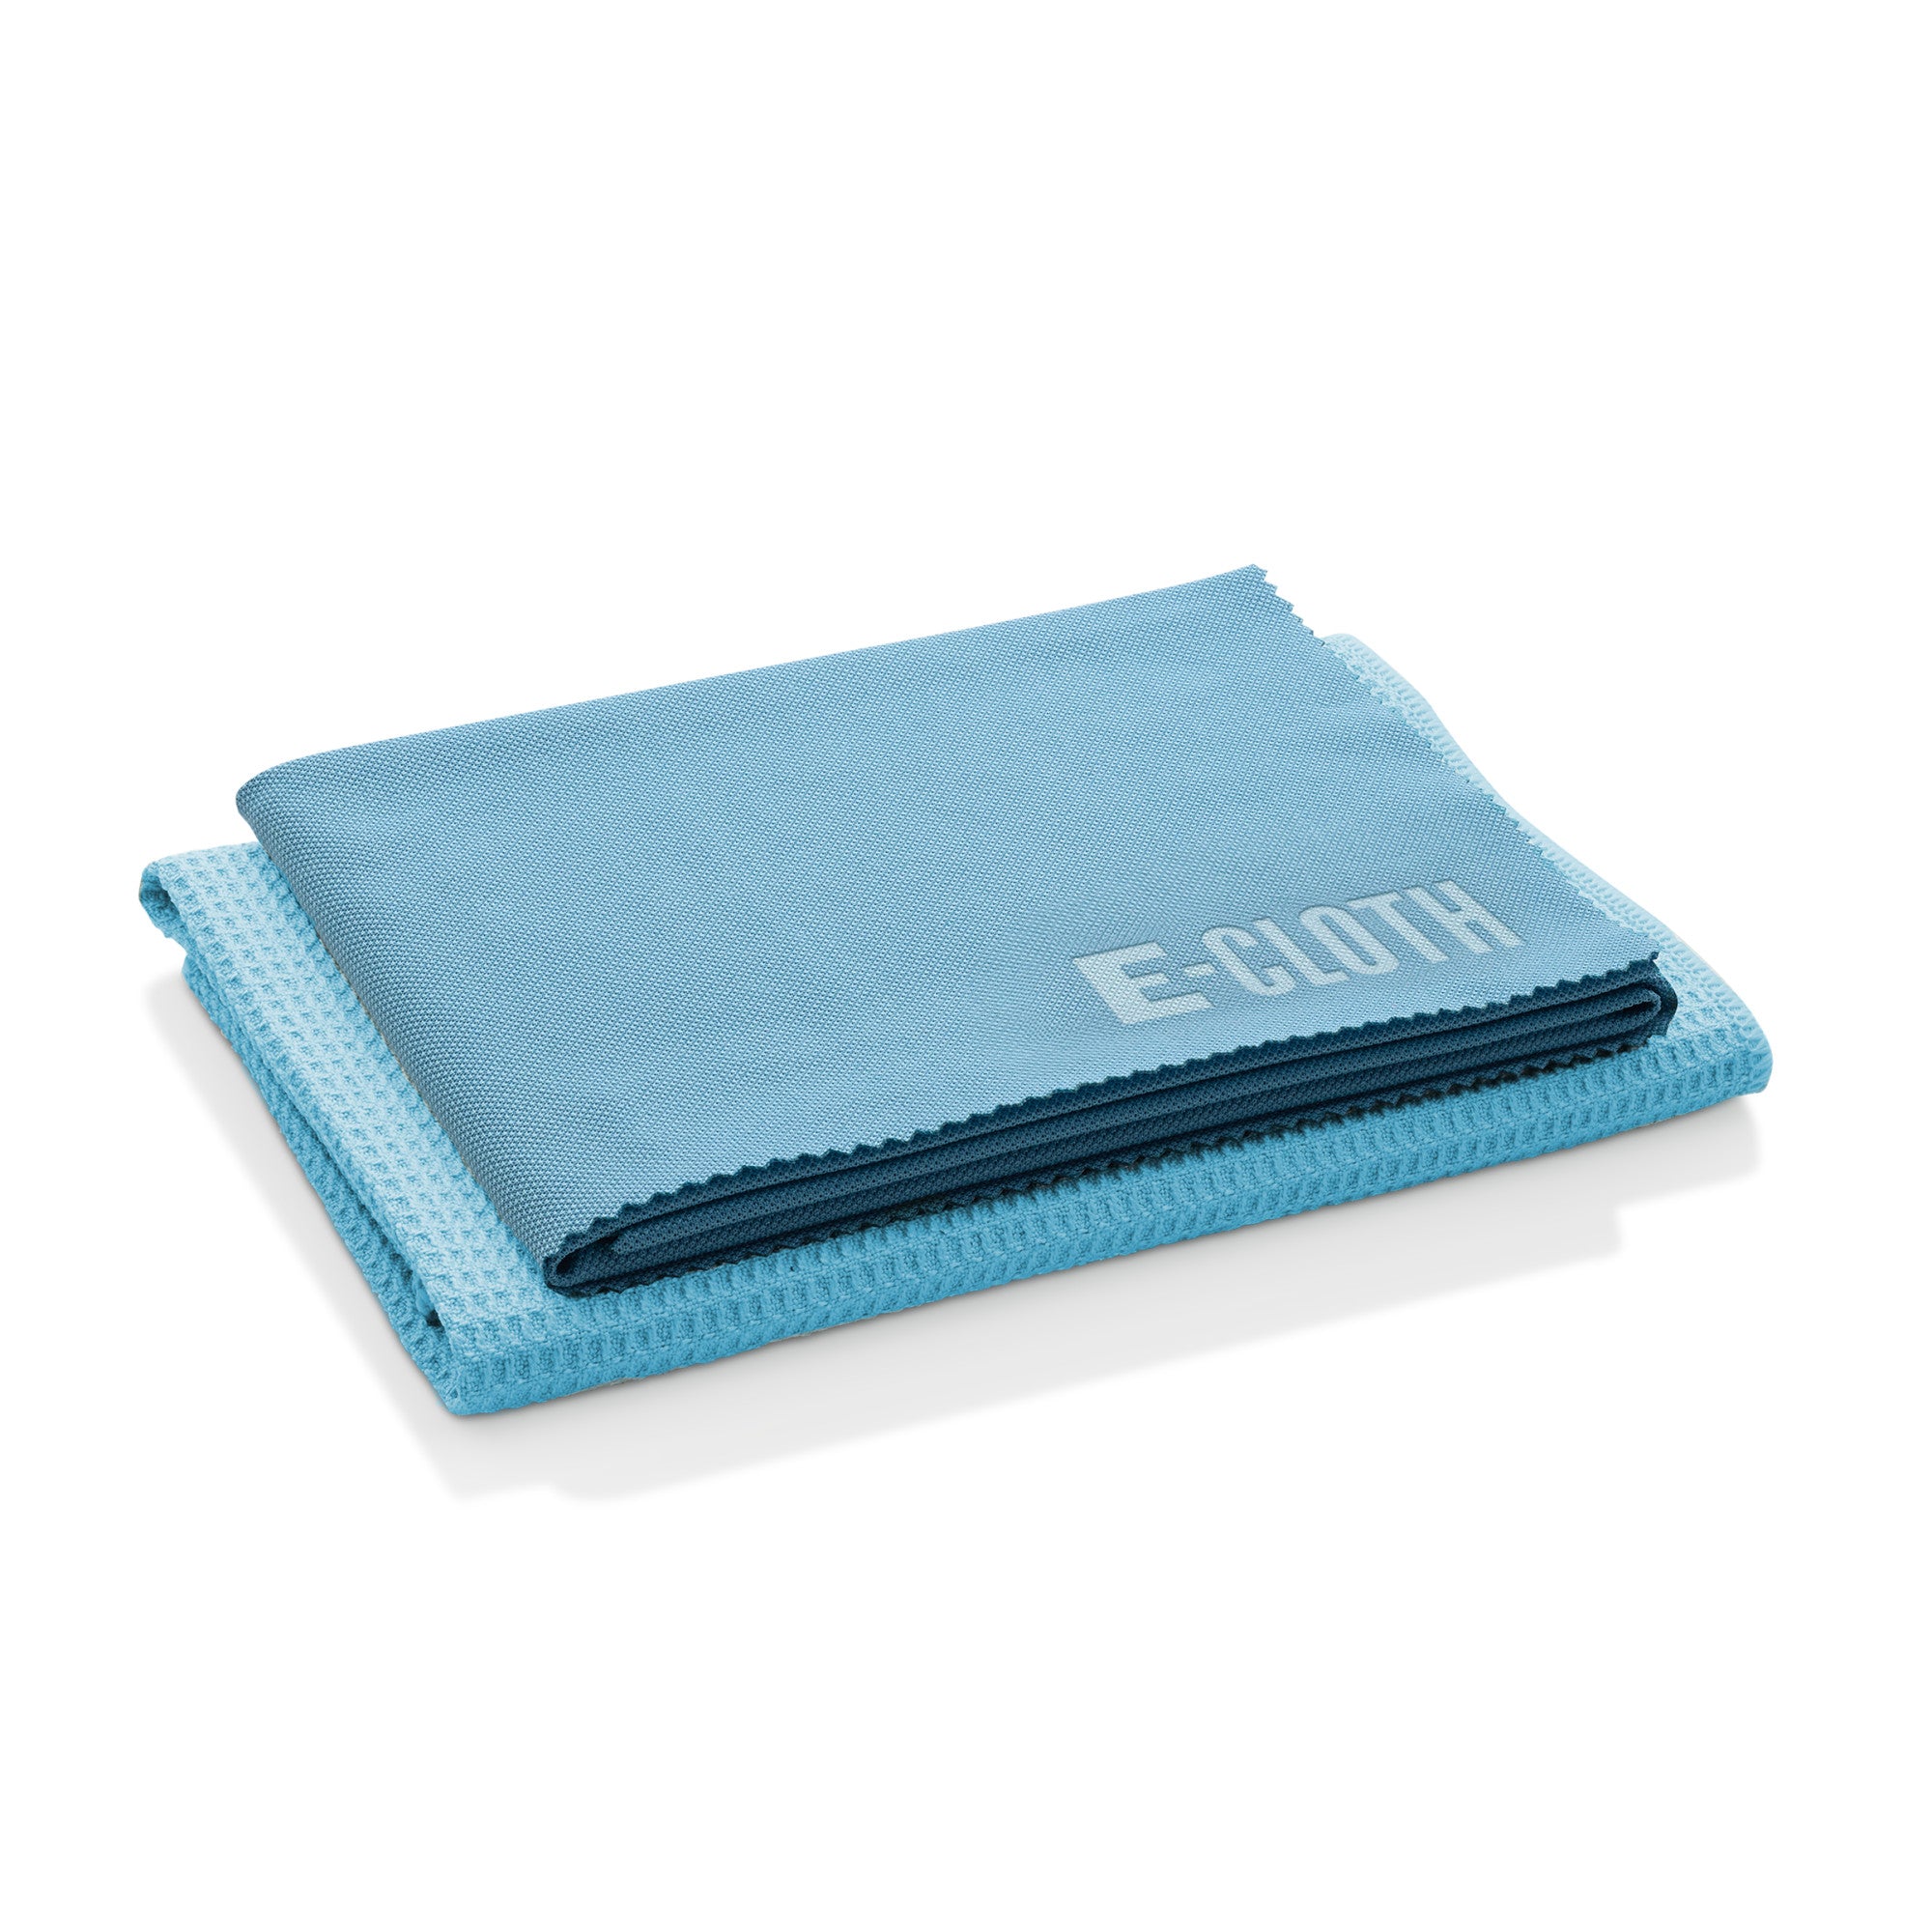
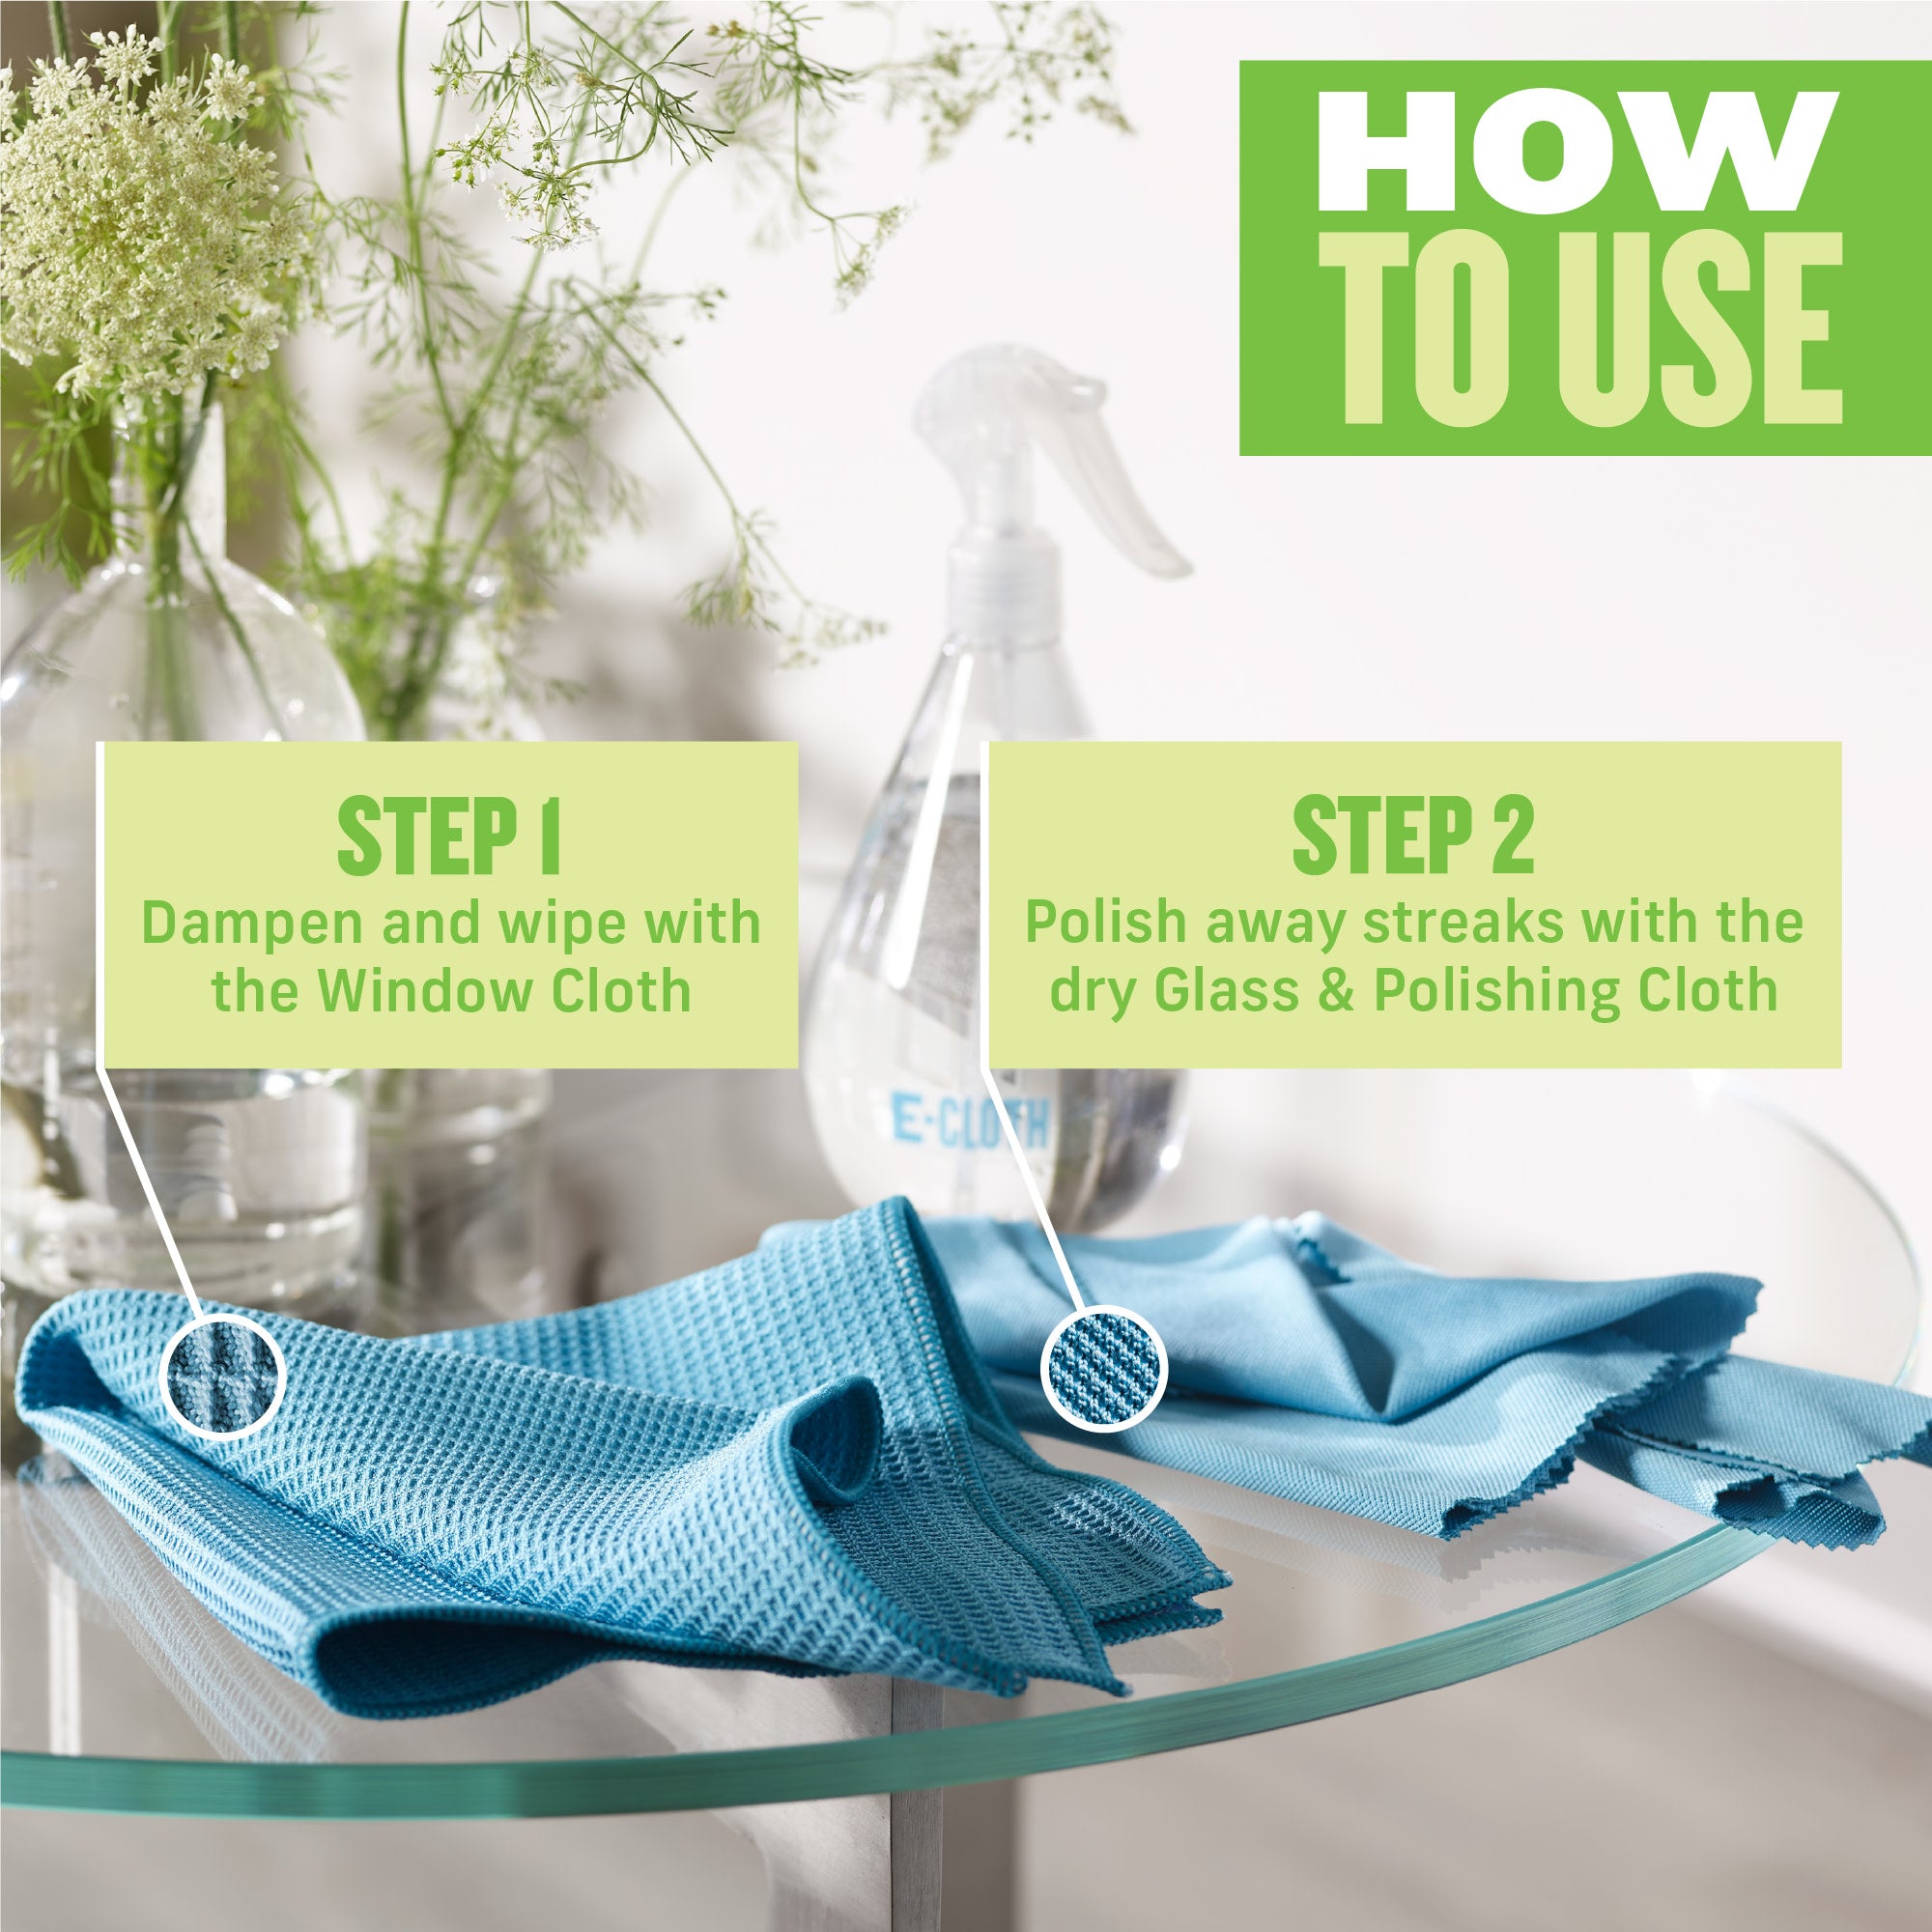
E-Cloth Window Cleaning Kit
Featured collection
Save $14.99

Sale priceFrom $14.99Regular price
$29.98
Save $17.94
Sale price$44.99Regular price
$62.93
$59.99

From $5.99
Save $7.99
Sale priceFrom $7.99Regular price
$15.98
Save $11.97
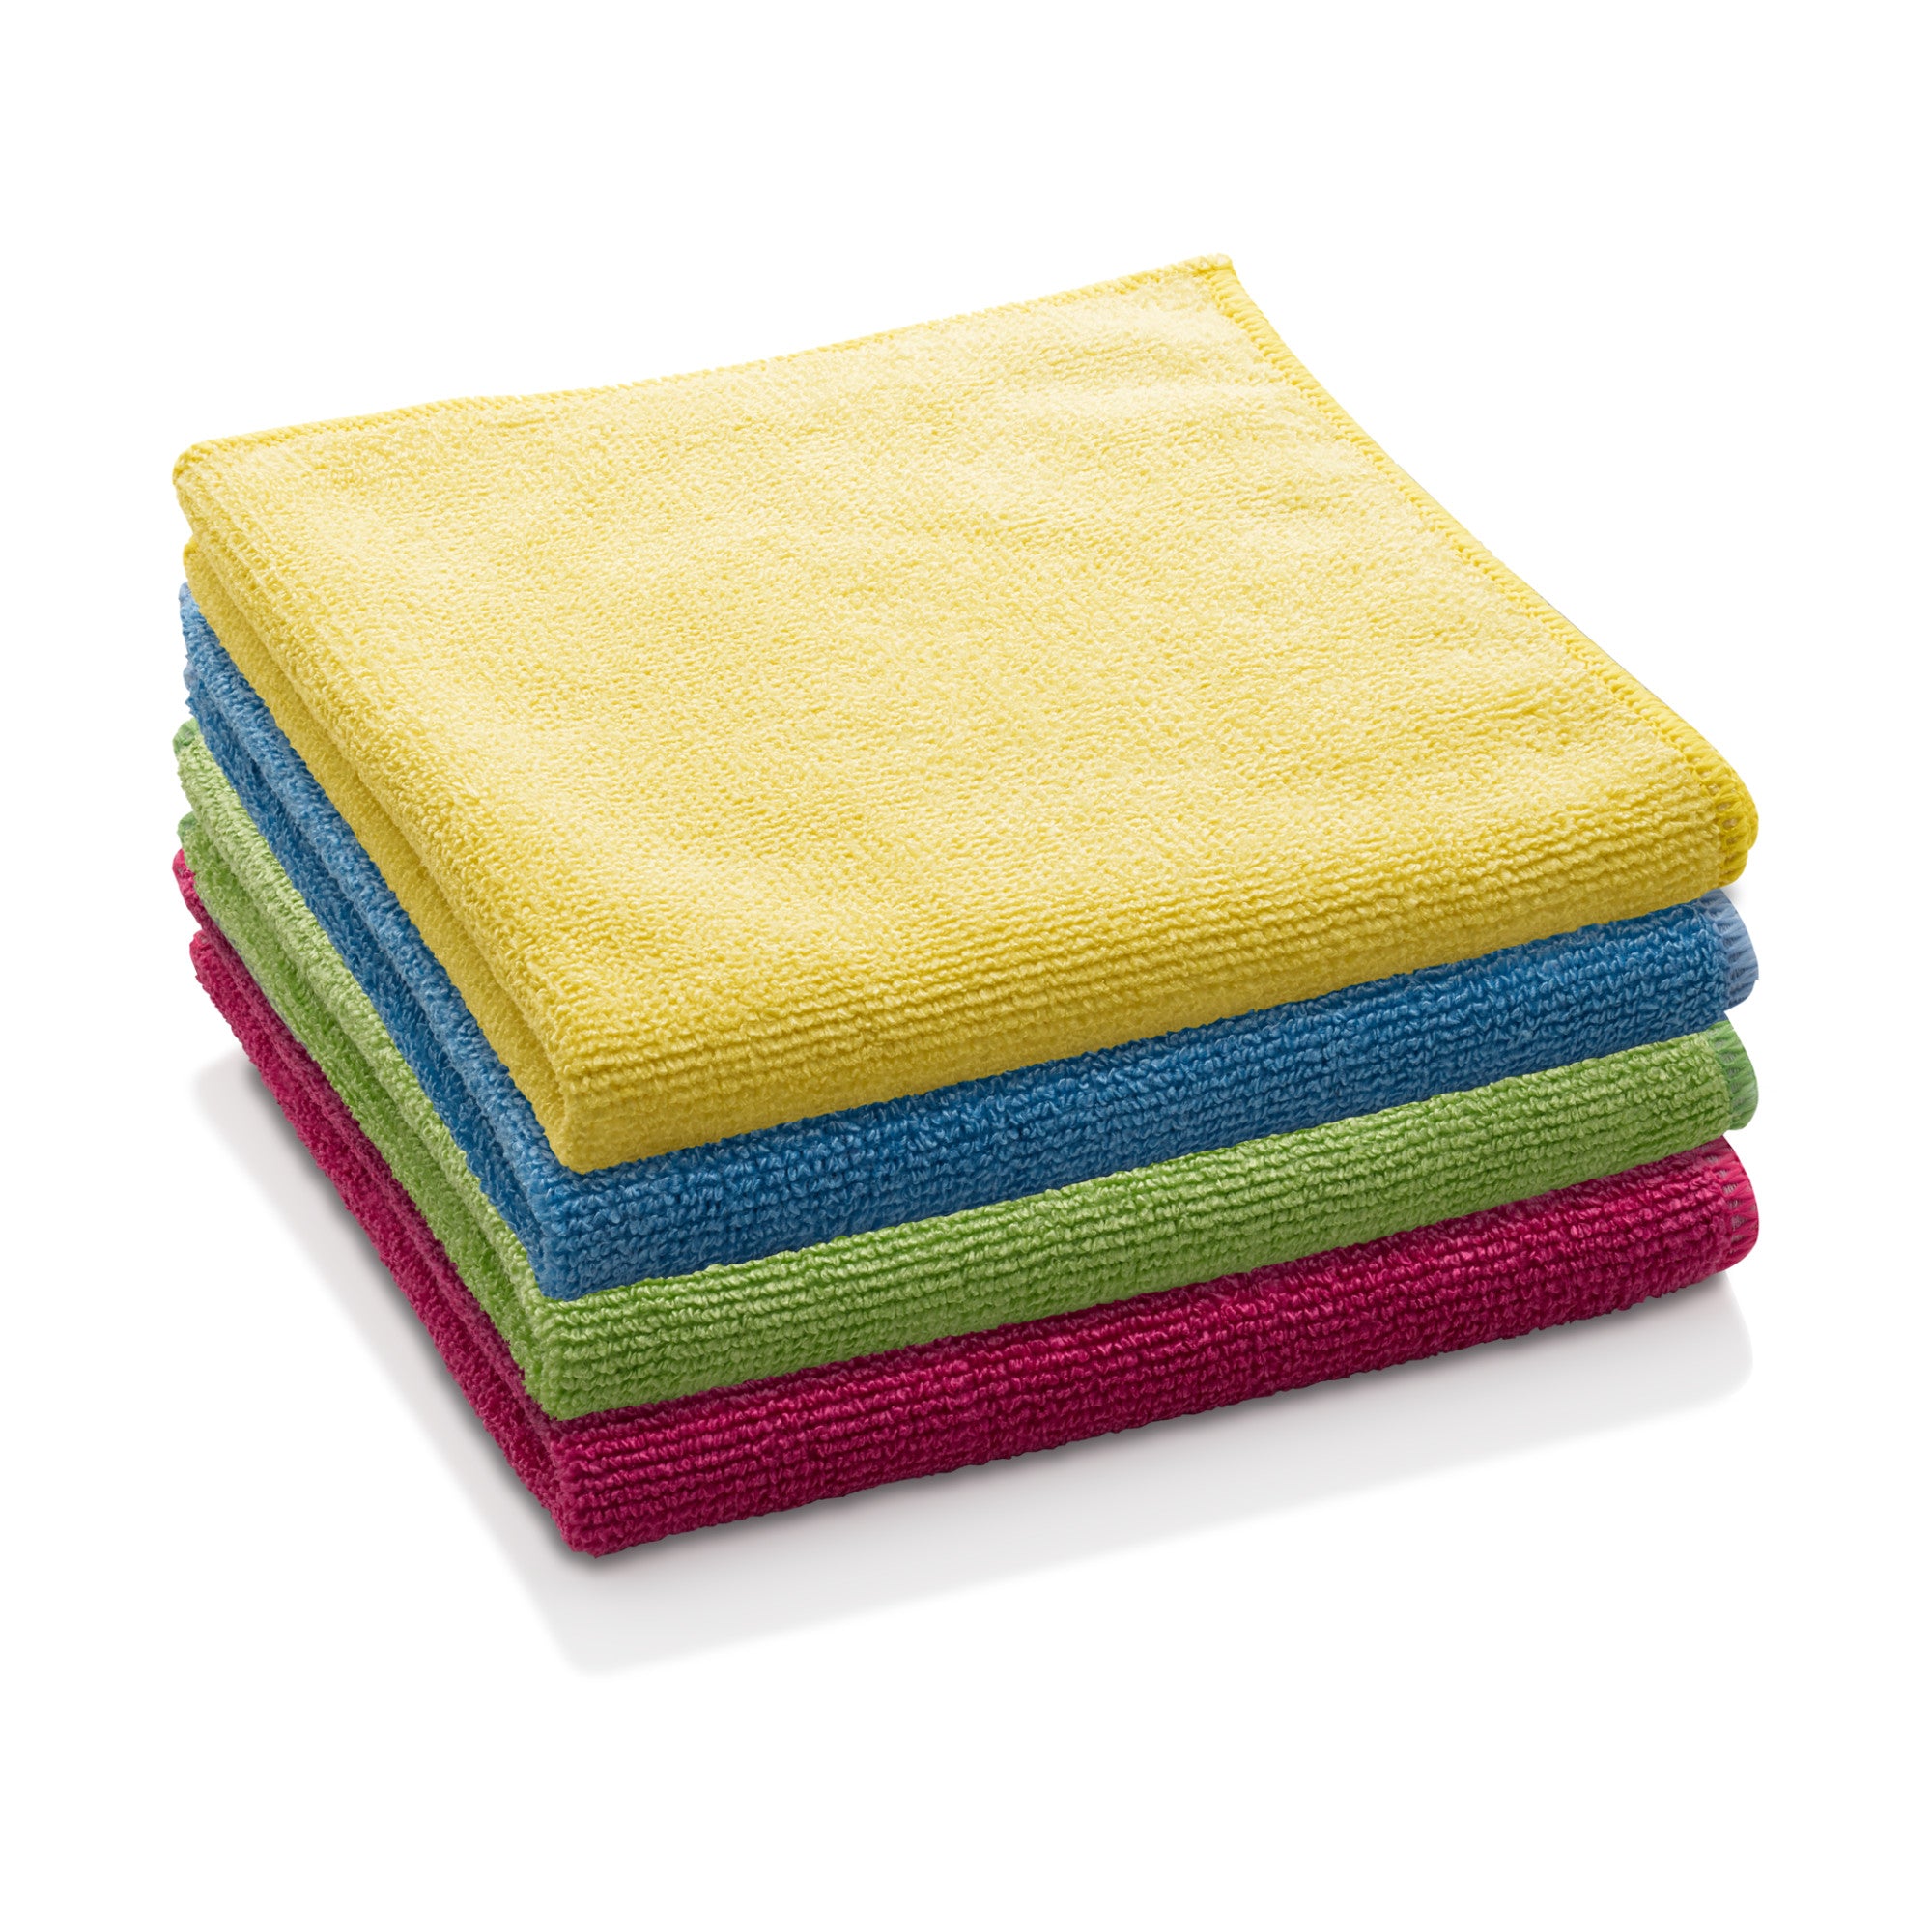
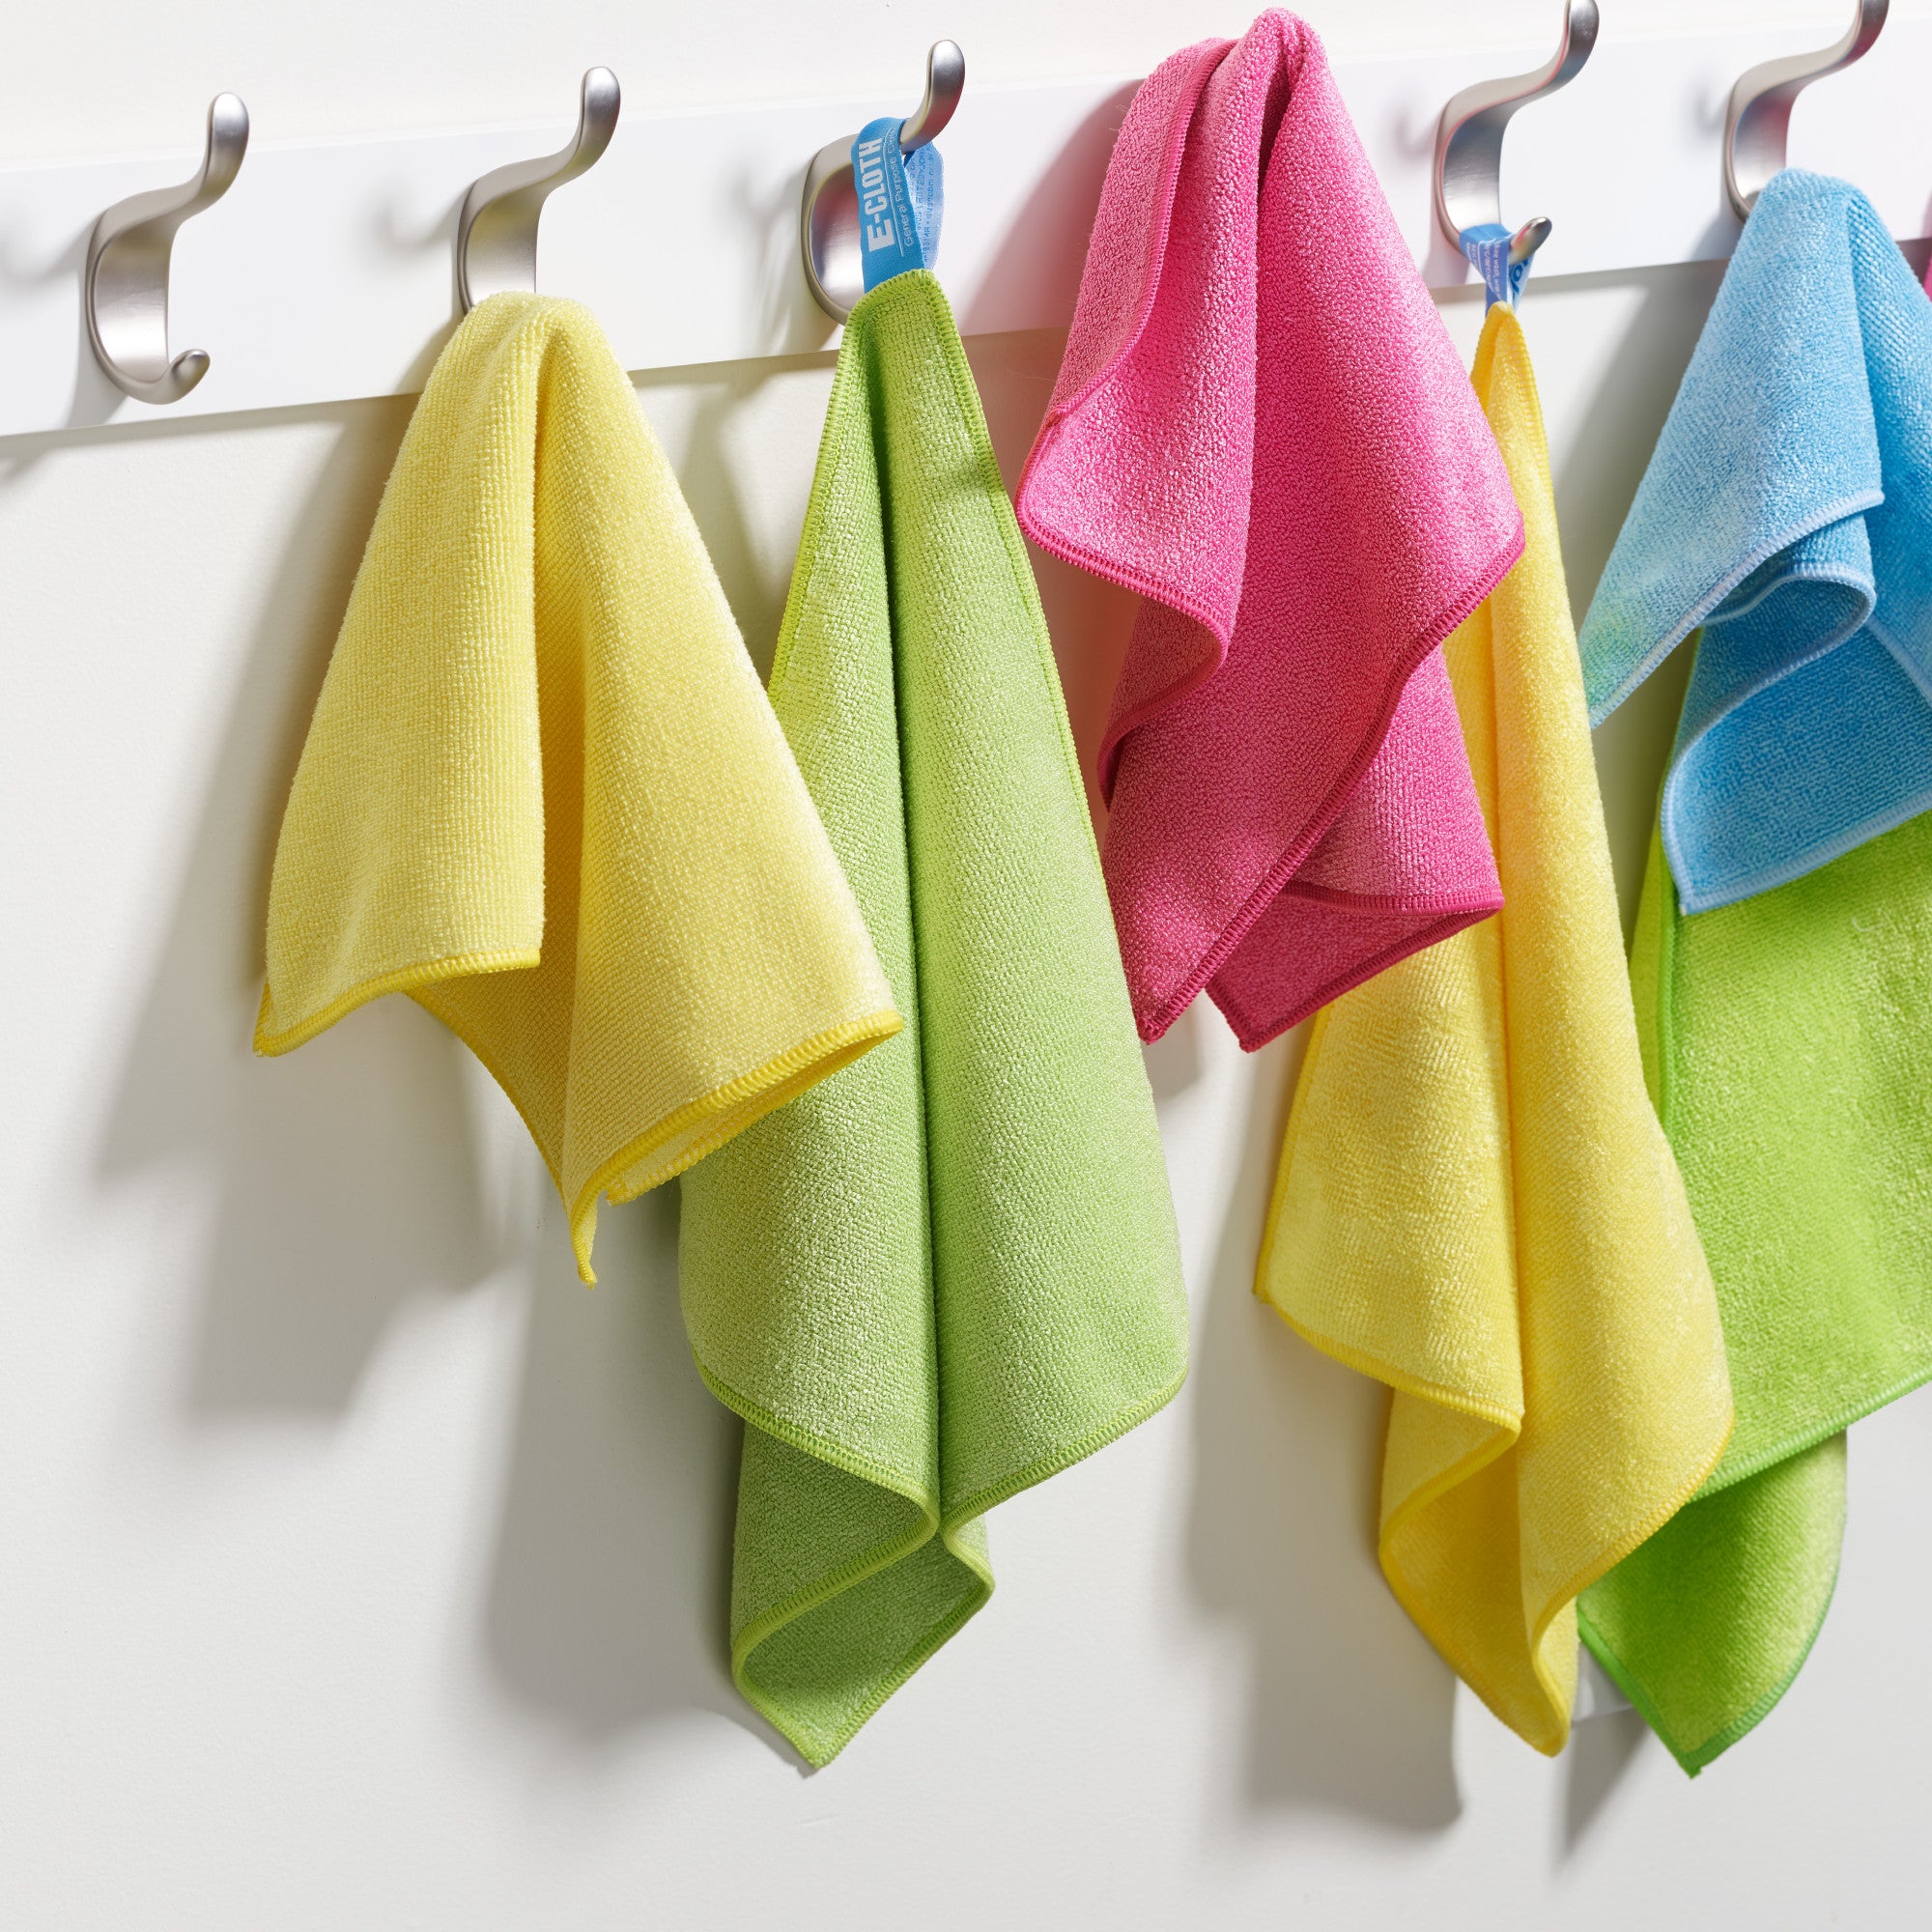
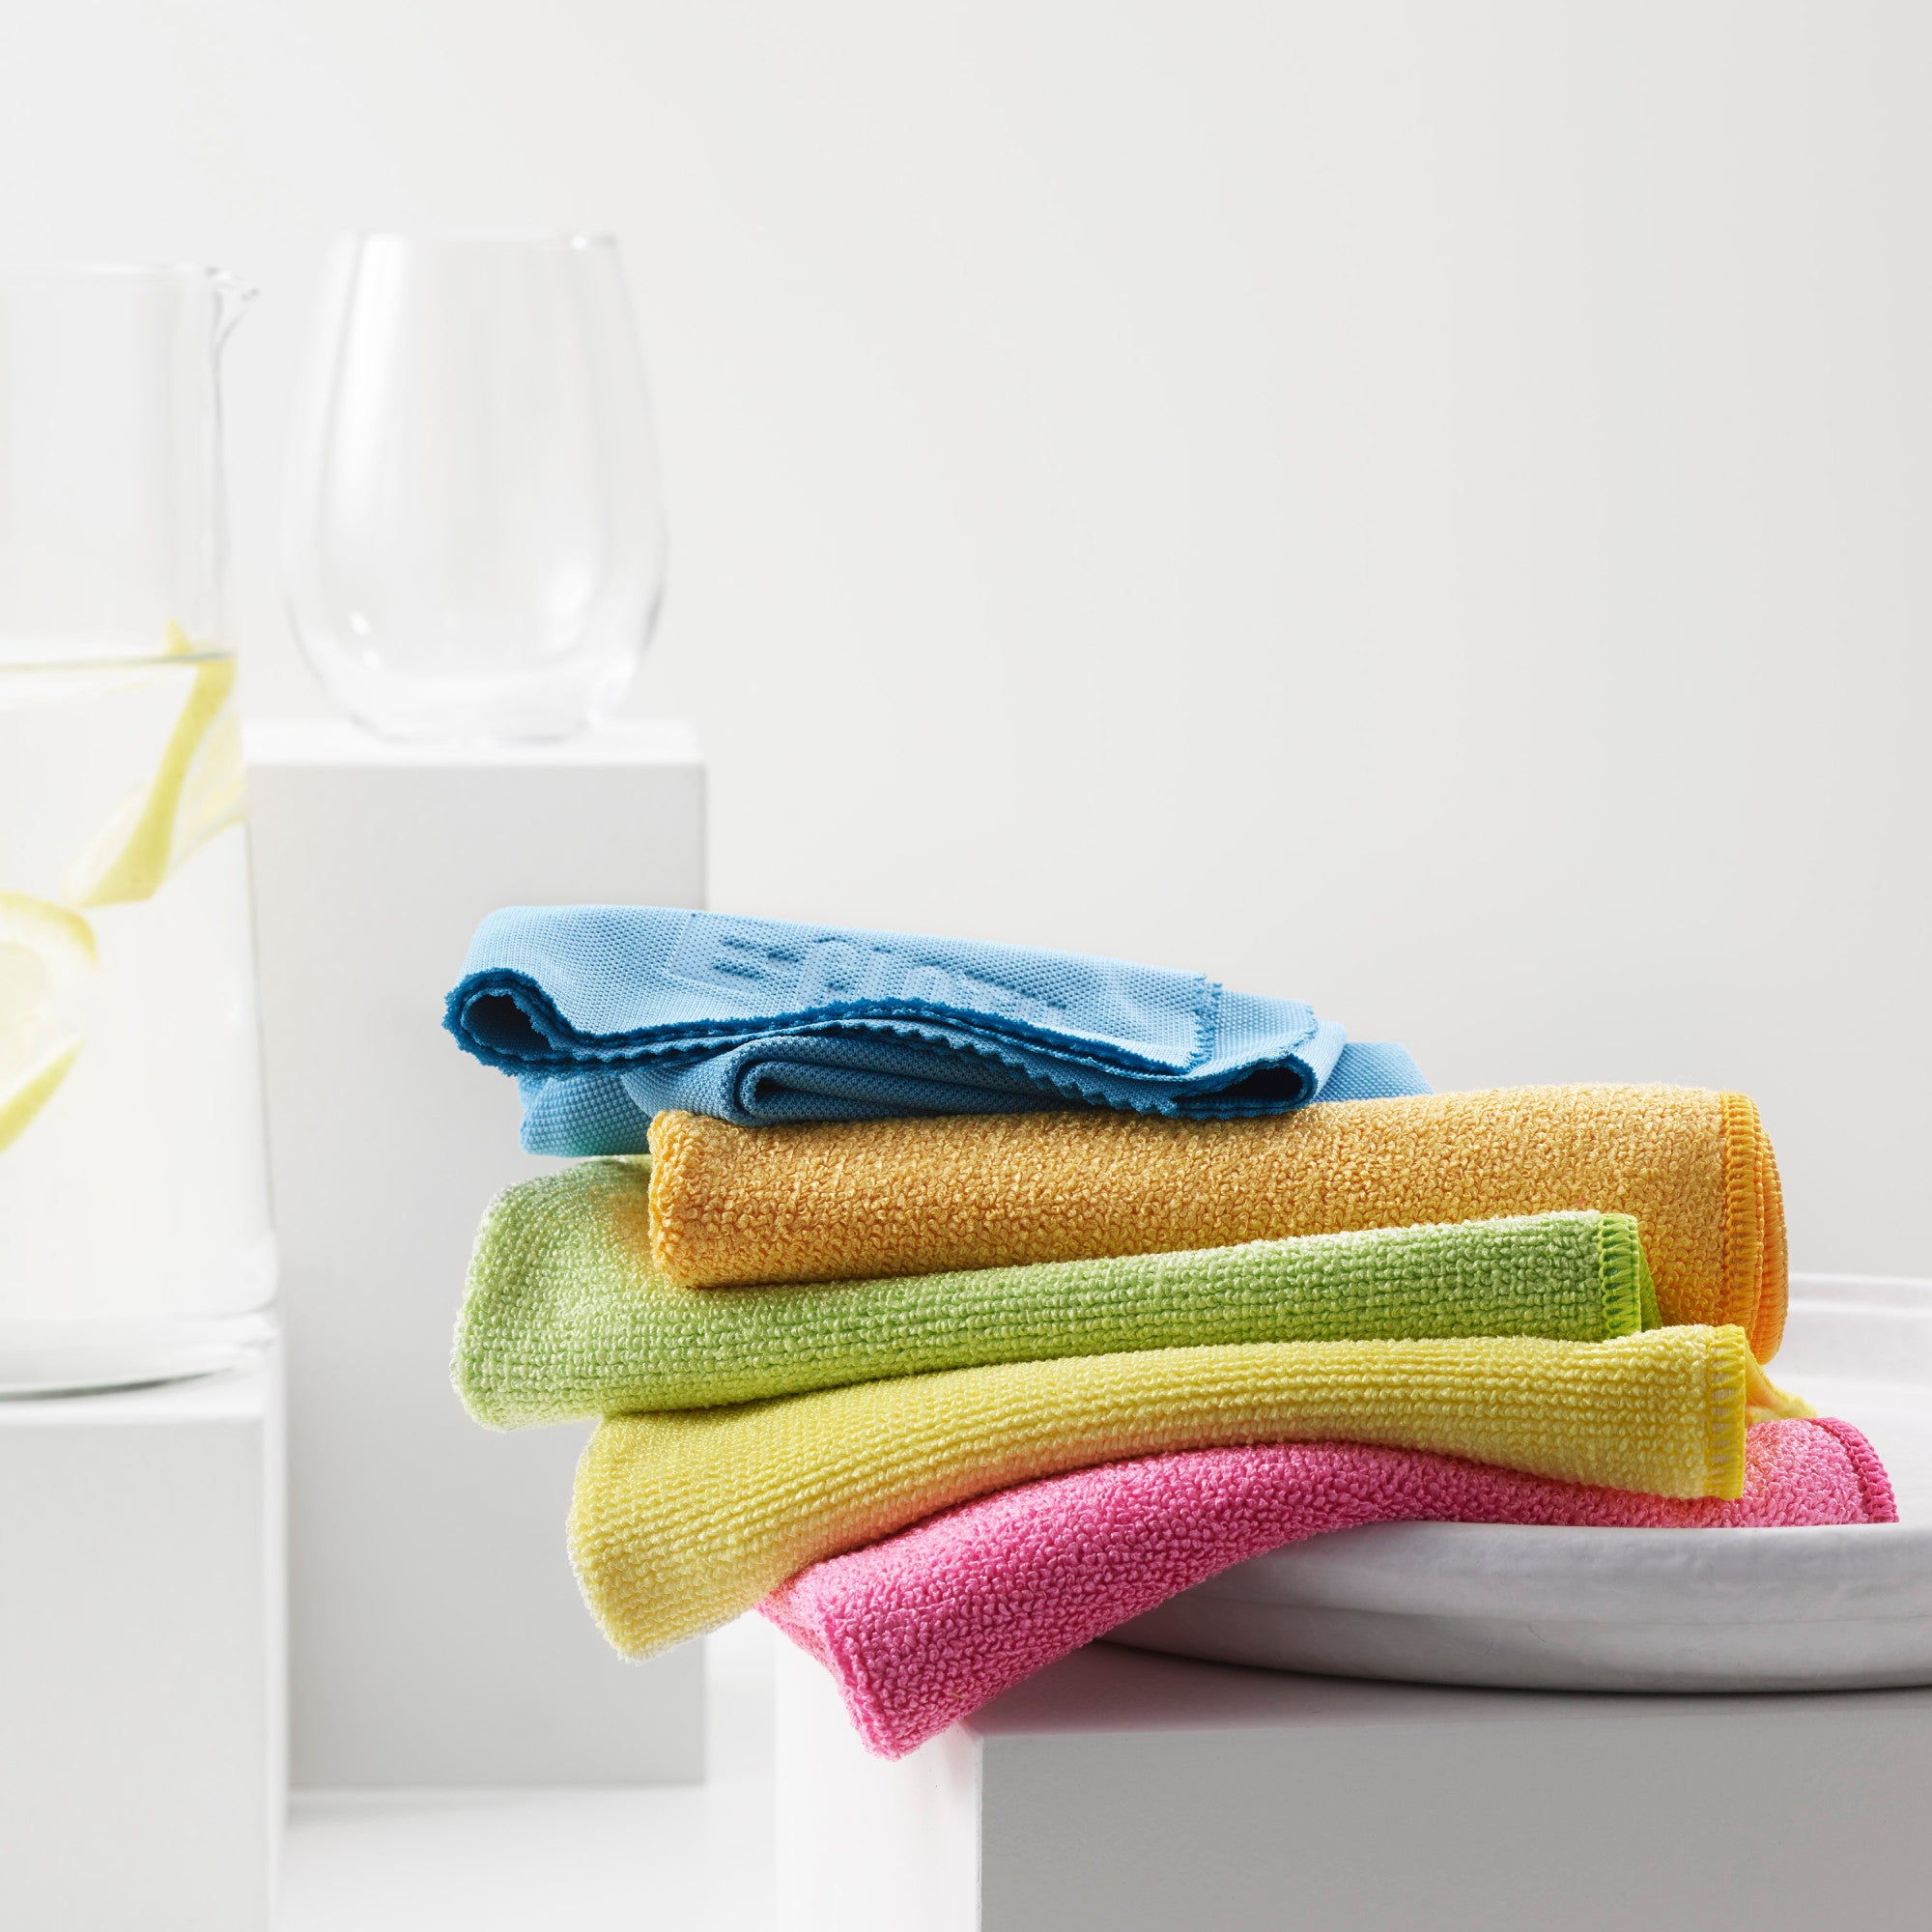
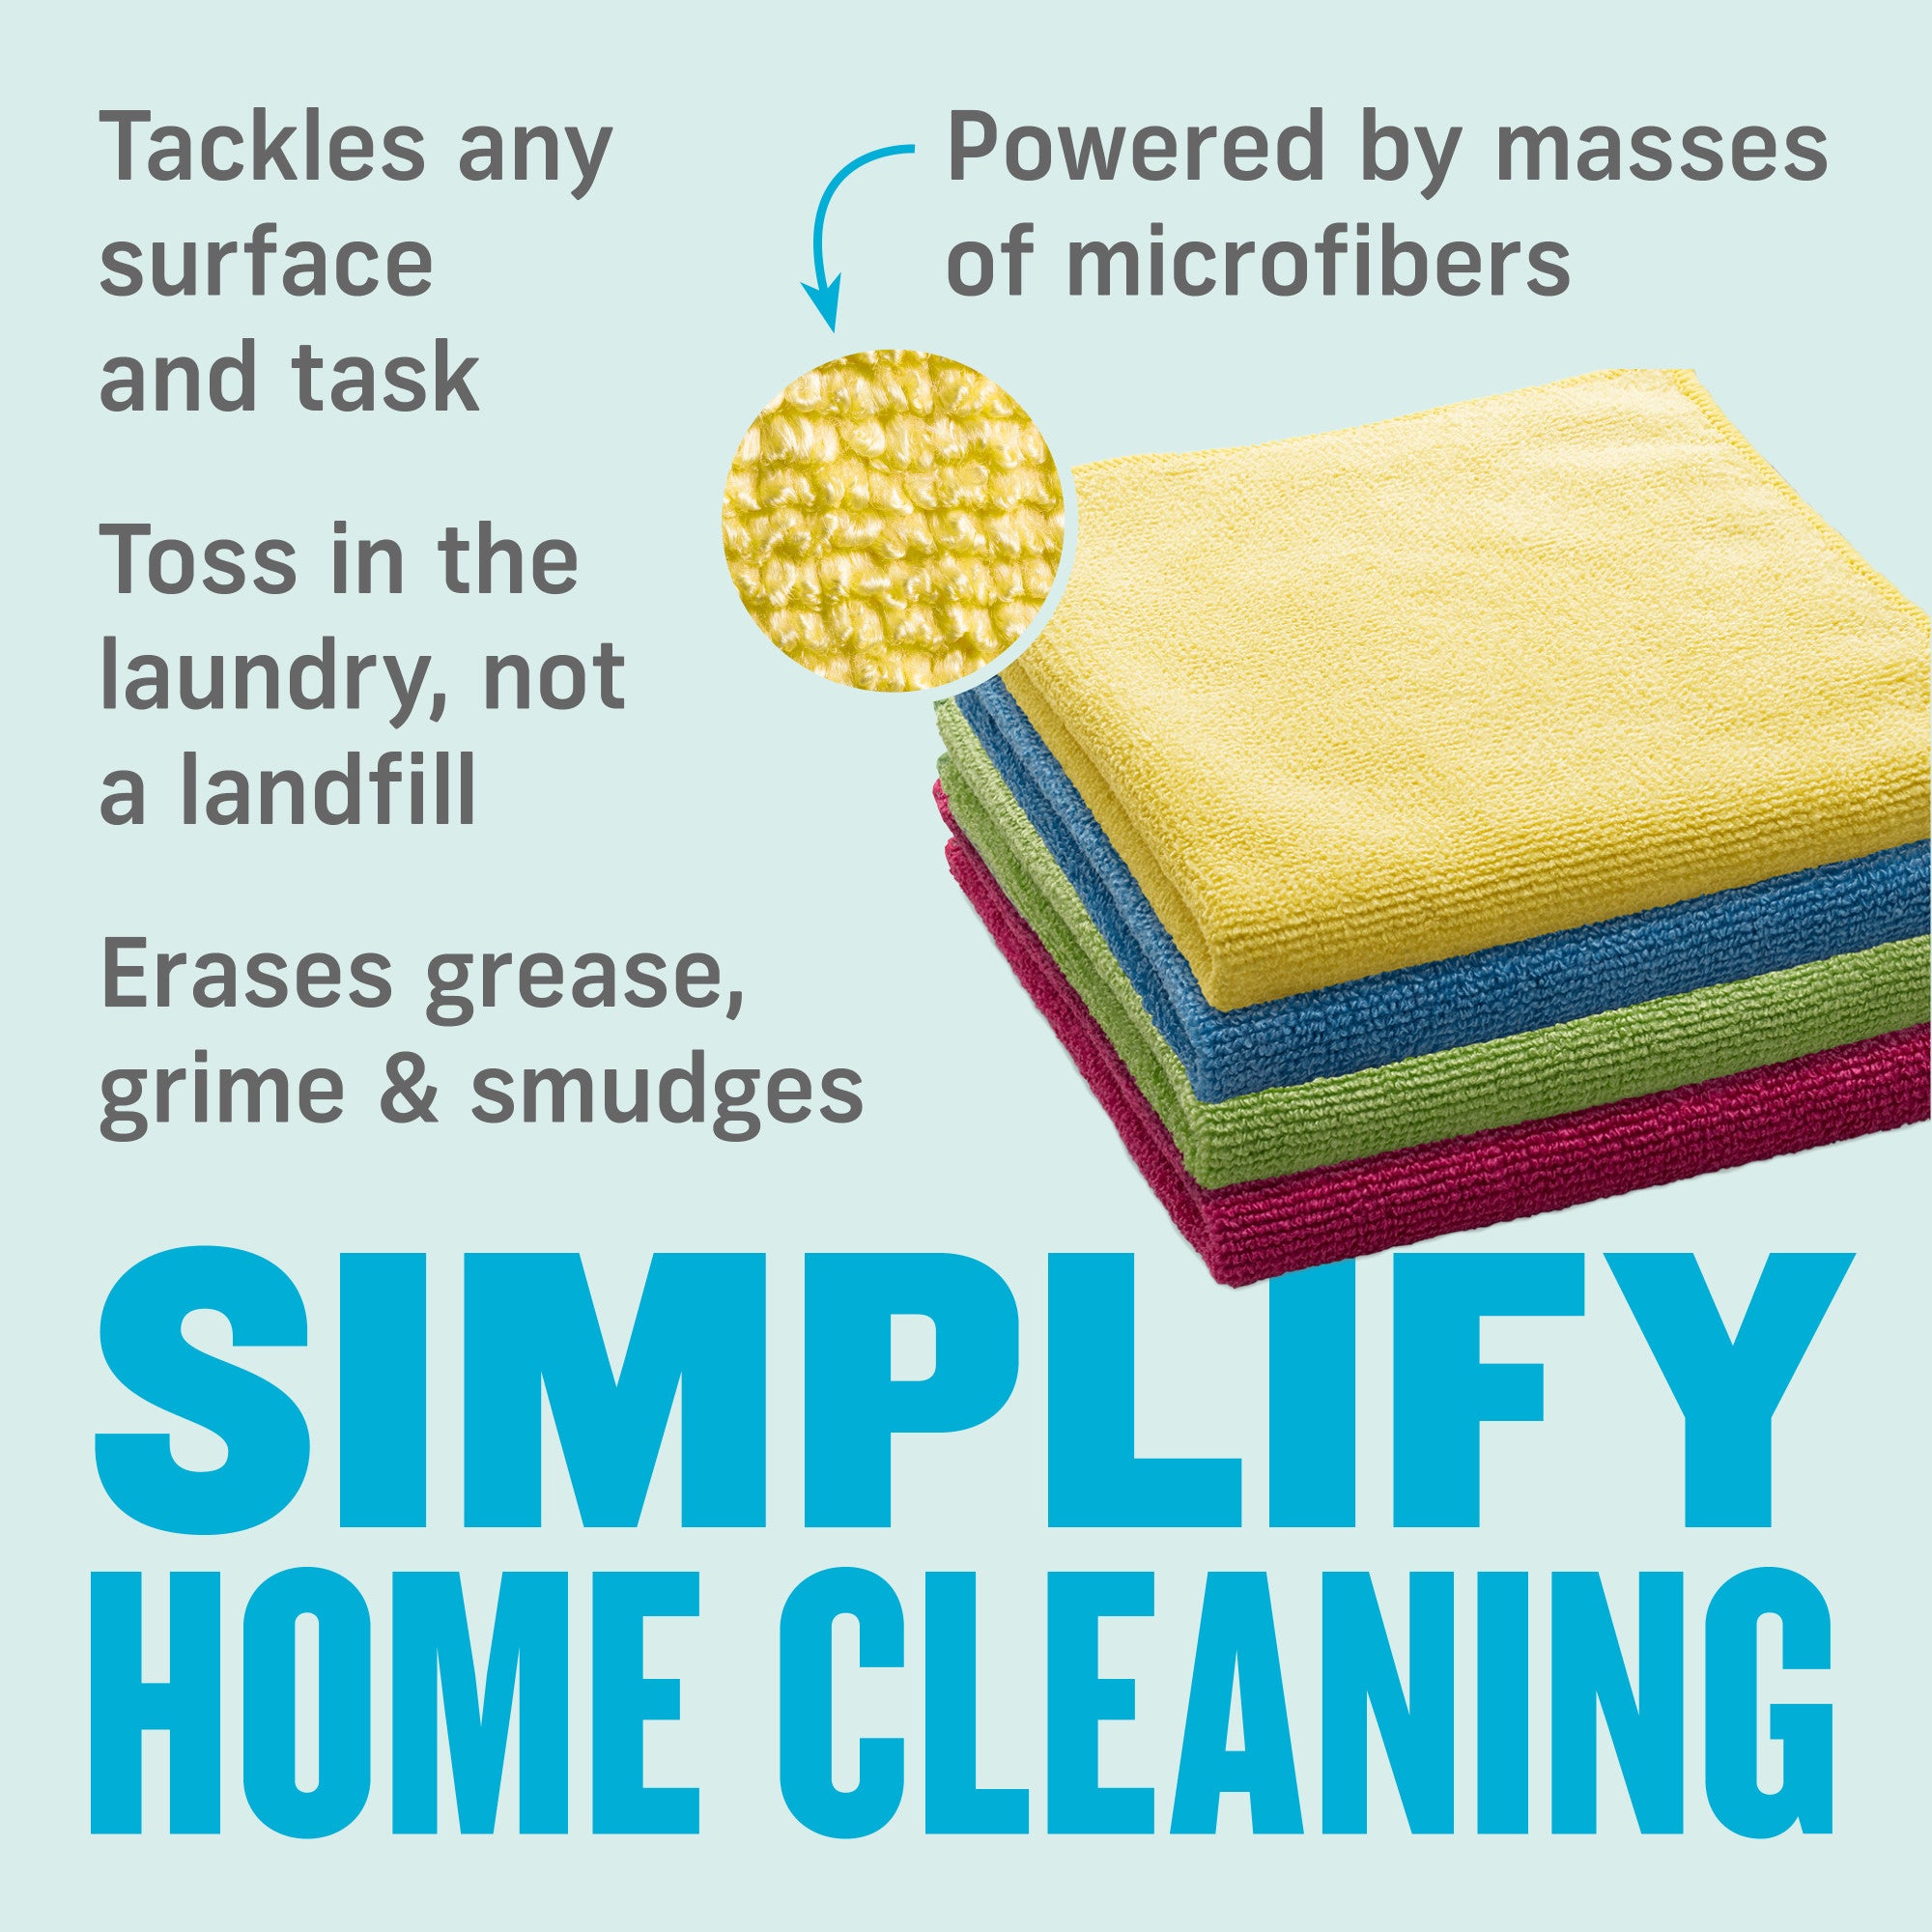
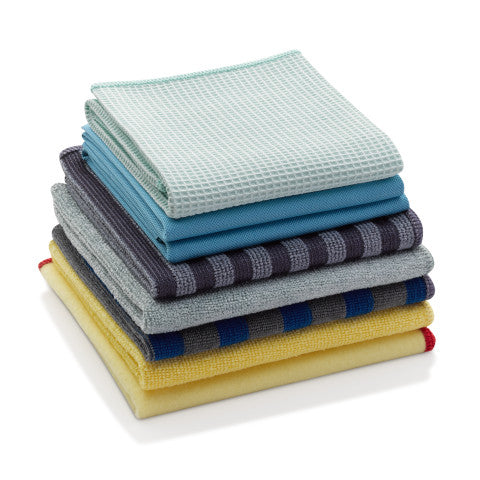
General Purpose Cloth - Assorted Colors
Sale price$19.99Regular price
$31.96
