Home | Sanitizing Guides | How to sanitize seat belt buckles: Step-by-Step
How to sanitize seat belt buckles: Step-by-Step
Reviewed by Zac Kieffer
Updated: September 16, 2025
Learn how to easily sanitize seat belt buckles with E-Cloth. Simple, effective cleaning for a safer, healthier car interior.
Title
How to sanitize seat belt buckles: Step-by-Step
Tools:
E-Cloth
70% isopropyl alcohol
Mild soap
Warm water
Prepare Your Cleaning Cloth
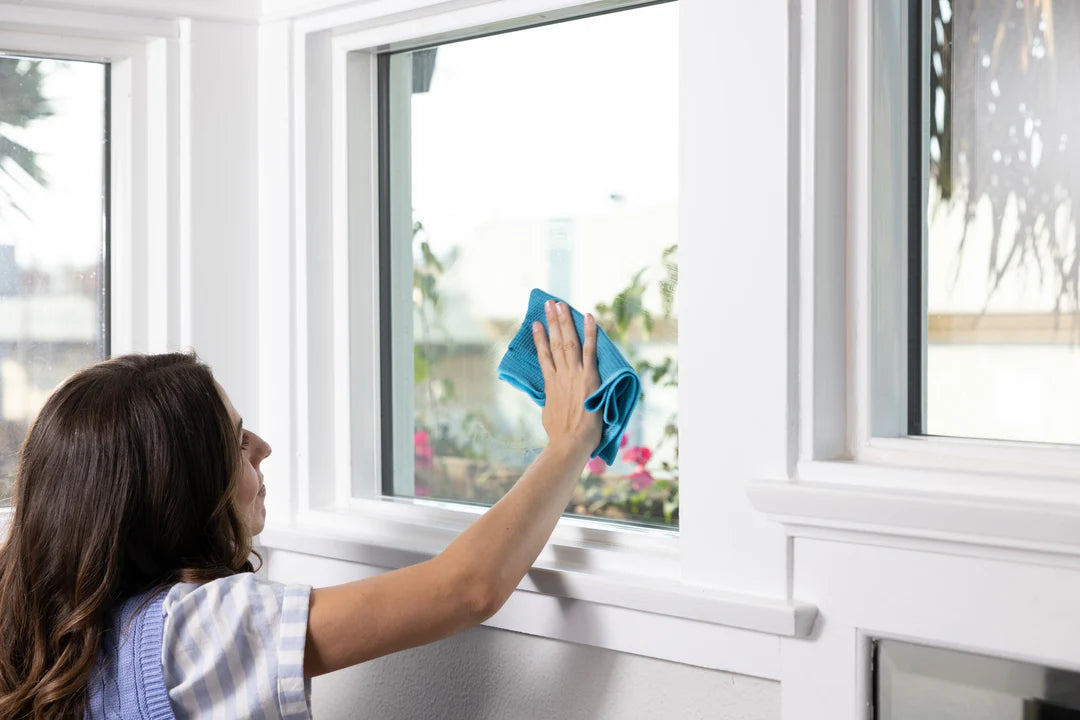
Lightly dampen a clean microfiber cloth with a disinfectant—70% isopropyl alcohol or a mixture of warm water and a drop of mild soap works well. Avoid soaking the cloth.
Sanitize the Buckle
Hold the seat belt steady and gently wipe all surfaces of the buckle, making sure to get into the crevices where germs may hide.
If you notice any stubborn grime, reapply a little disinfectant to your cloth and go over those spots again.
Final Touch
Allow the buckle to air dry completely before using the seat belt again.
If needed, give it a final wipe with a dry section of your cloth to remove any lingering moisture.
Precautions:
Read Manufacturer’s Instructions
Always check the vehicle manual or manufacturer's guidelines before applying any cleaning products to seat belt buckles.
Use Approved Cleaning Products
Ensure that the sanitizer or cleaning product is suitable for use on plastics and metals found in seat belt buckles.
Avoid Harsh Chemicals
Steer clear of bleach, ammonia, or other strong chemicals that can degrade or discolor the buckle’s surface.
Test on a Small Area
Before full application, test the sanitizer on an inconspicuous area to avoid unexpected damage or discoloration.
Minimize Liquid Exposure
Avoid saturating the buckle; use minimal liquid to prevent seepage into the seat belt mechanism.
Wear Protective Gloves
Protect your skin by wearing gloves, as some sanitizers can be harsh or cause irritation on contact.
Ensure Proper Drying
Allow the treated buckle to air dry completely to avoid moisture buildup and potential damage.
How to Correctly Sanitize The Seat belt buckles: Extra Tips
Inspect and Remove Loose Debris
Start by visually inspecting the seat belt buckles for any crumbs, dust, or loose grime.
Use a soft-bristled brush or a small vacuum attachment to remove surface debris, ensuring the disinfectant can work effectively.
Title
Select an Appropriate Disinfectant
Choose a disinfectant that is proven to kill germs and is safe for use on plastic and metal surfaces.
Avoid bleach-based products if your buckles have special coatings; opt for an alcohol-based sanitizer instead.
Title
Apply the Disinfectant Properly
Spray a light mist of the disinfectant over the buckle, ensuring even coverage without soaking the component.
Wipe down with a clean, lint-free cloth, paying extra attention to crevices where germs can hide.
Title
Allow Adequate Drying Time
After cleaning, let the buckles dry completely to let the disinfectant work and to prevent moisture-related issues.
If possible, keep your vehicle or workspace well-ventilated during the drying process to speed up evaporation.
Common Mistakes When Sanitizing Seat belt buckles
Using Harsh Chemicals
Risk: Solvents and cleaners that are too strong can degrade the plastic components of the seat belt buckle.
Tip: Use mild soap and water or cleaners specifically formulated for automotive interiors.
Excessive Moisture
Risk: Over-saturating the buckle with liquids may lead to moisture seeping into the mechanism, resulting in potential corrosion.
Tip: Clean with a damp cloth and ensure the area is dried thoroughly after cleaning.
Abrasive Scrubbing
Risk: Using abrasive tools like rough sponges or scouring pads can scratch or damage the surface of the buckle.
Tip: Always opt for a soft microfiber cloth to gently remove dirt without causing harm.
Title
How Often to Sanitize Seat belt buckles
Sanitization Frequency for Seat Belt Buckles
Every 1-2 weeks for high-usage vehicles: If you're a daily driver or frequently share your ride, sanitize your seat belt buckles every one to two weeks. Constant contact with hands, clothing, and outside elements makes them prime spots for germ build-up.
Monthly for occasional use: For vehicles that see less frequent activity, a monthly clean might be enough. However, be extra cautious during seasonal spikes or after transporting multiple riders.
Weekly in shared or sensitive environments: If you often drive with young children or in circumstances where infectious agents are a concern, consider a weekly sanitize. This extra step reduces the chance of cross-contamination and keeps your interior as hygienic as possible.
Why this frequency: Regular cleaning at these intervals prevents the accumulation of sweat, dirt, and bacteria. It’s a simple routine adjustment that maintains a healthier environment without adding too much extra work.
Our high-performance microfiber products simplify cleaning, making it quick, easy, and effective, so you can enjoy visible results without the fuss. No streaks, just results.